
Notifications & Alerts
Route malware findings to email, Slack, or incident.io with alert rules, and review every alert Ossprey has sent.
Stay informed about scan results and security events across your repositories. Ossprey's Alerting section lets you decide what is worth an alert, where those alerts go, and gives you a full record of everything that has been sent.
Find it under Alerting in the dashboard sidebar. It has three tabs:
| Tab | What it's for |
|---|---|
| Destinations | Where alerts are delivered — email addresses, Slack channels, incident.io. |
| Rules | Which findings trigger an alert, and which destinations they reach. |
| Activity | Every alert that has fired, with per-destination delivery status. |
Set up destinations firstA rule must route to at least one destination, so add a destination before creating rules.
Destinations
A destination is somewhere an alert can be delivered. Click Add destination on the Alerting page, give it a name, and pick a type.
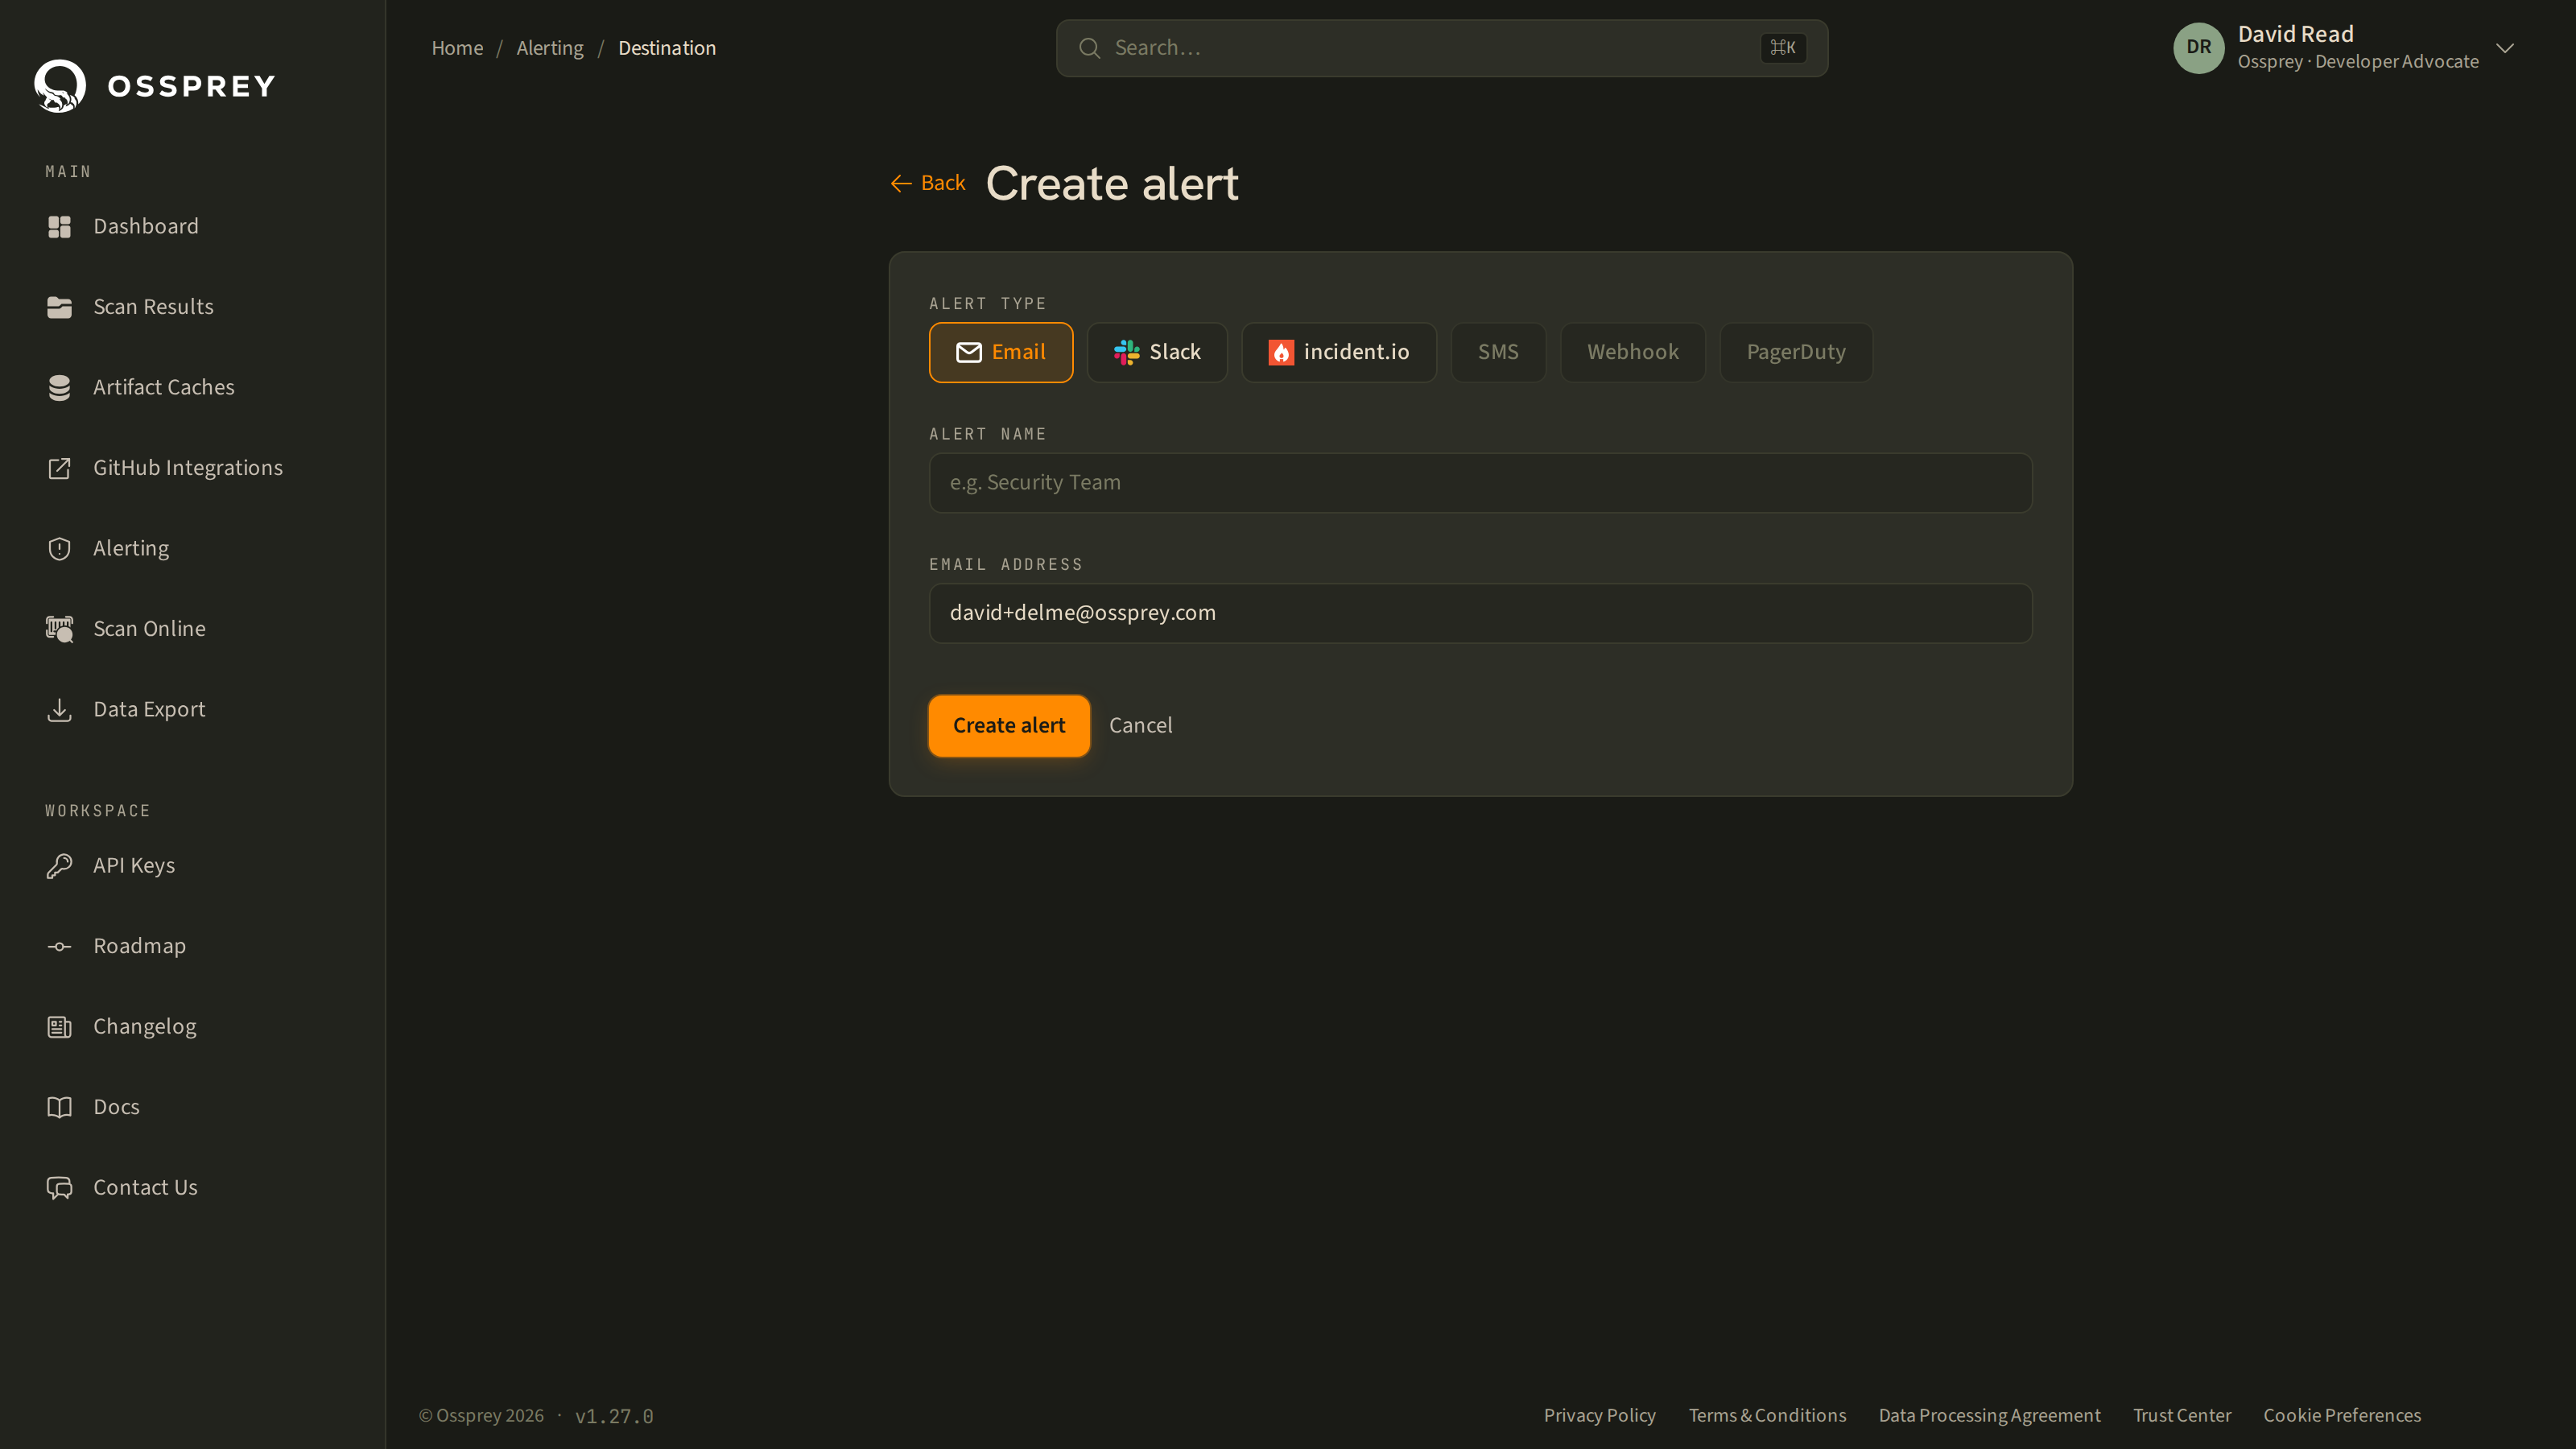
Email
Enter the address you want alerts sent to — it's pre-filled with your account email, but any address or team distribution list works.
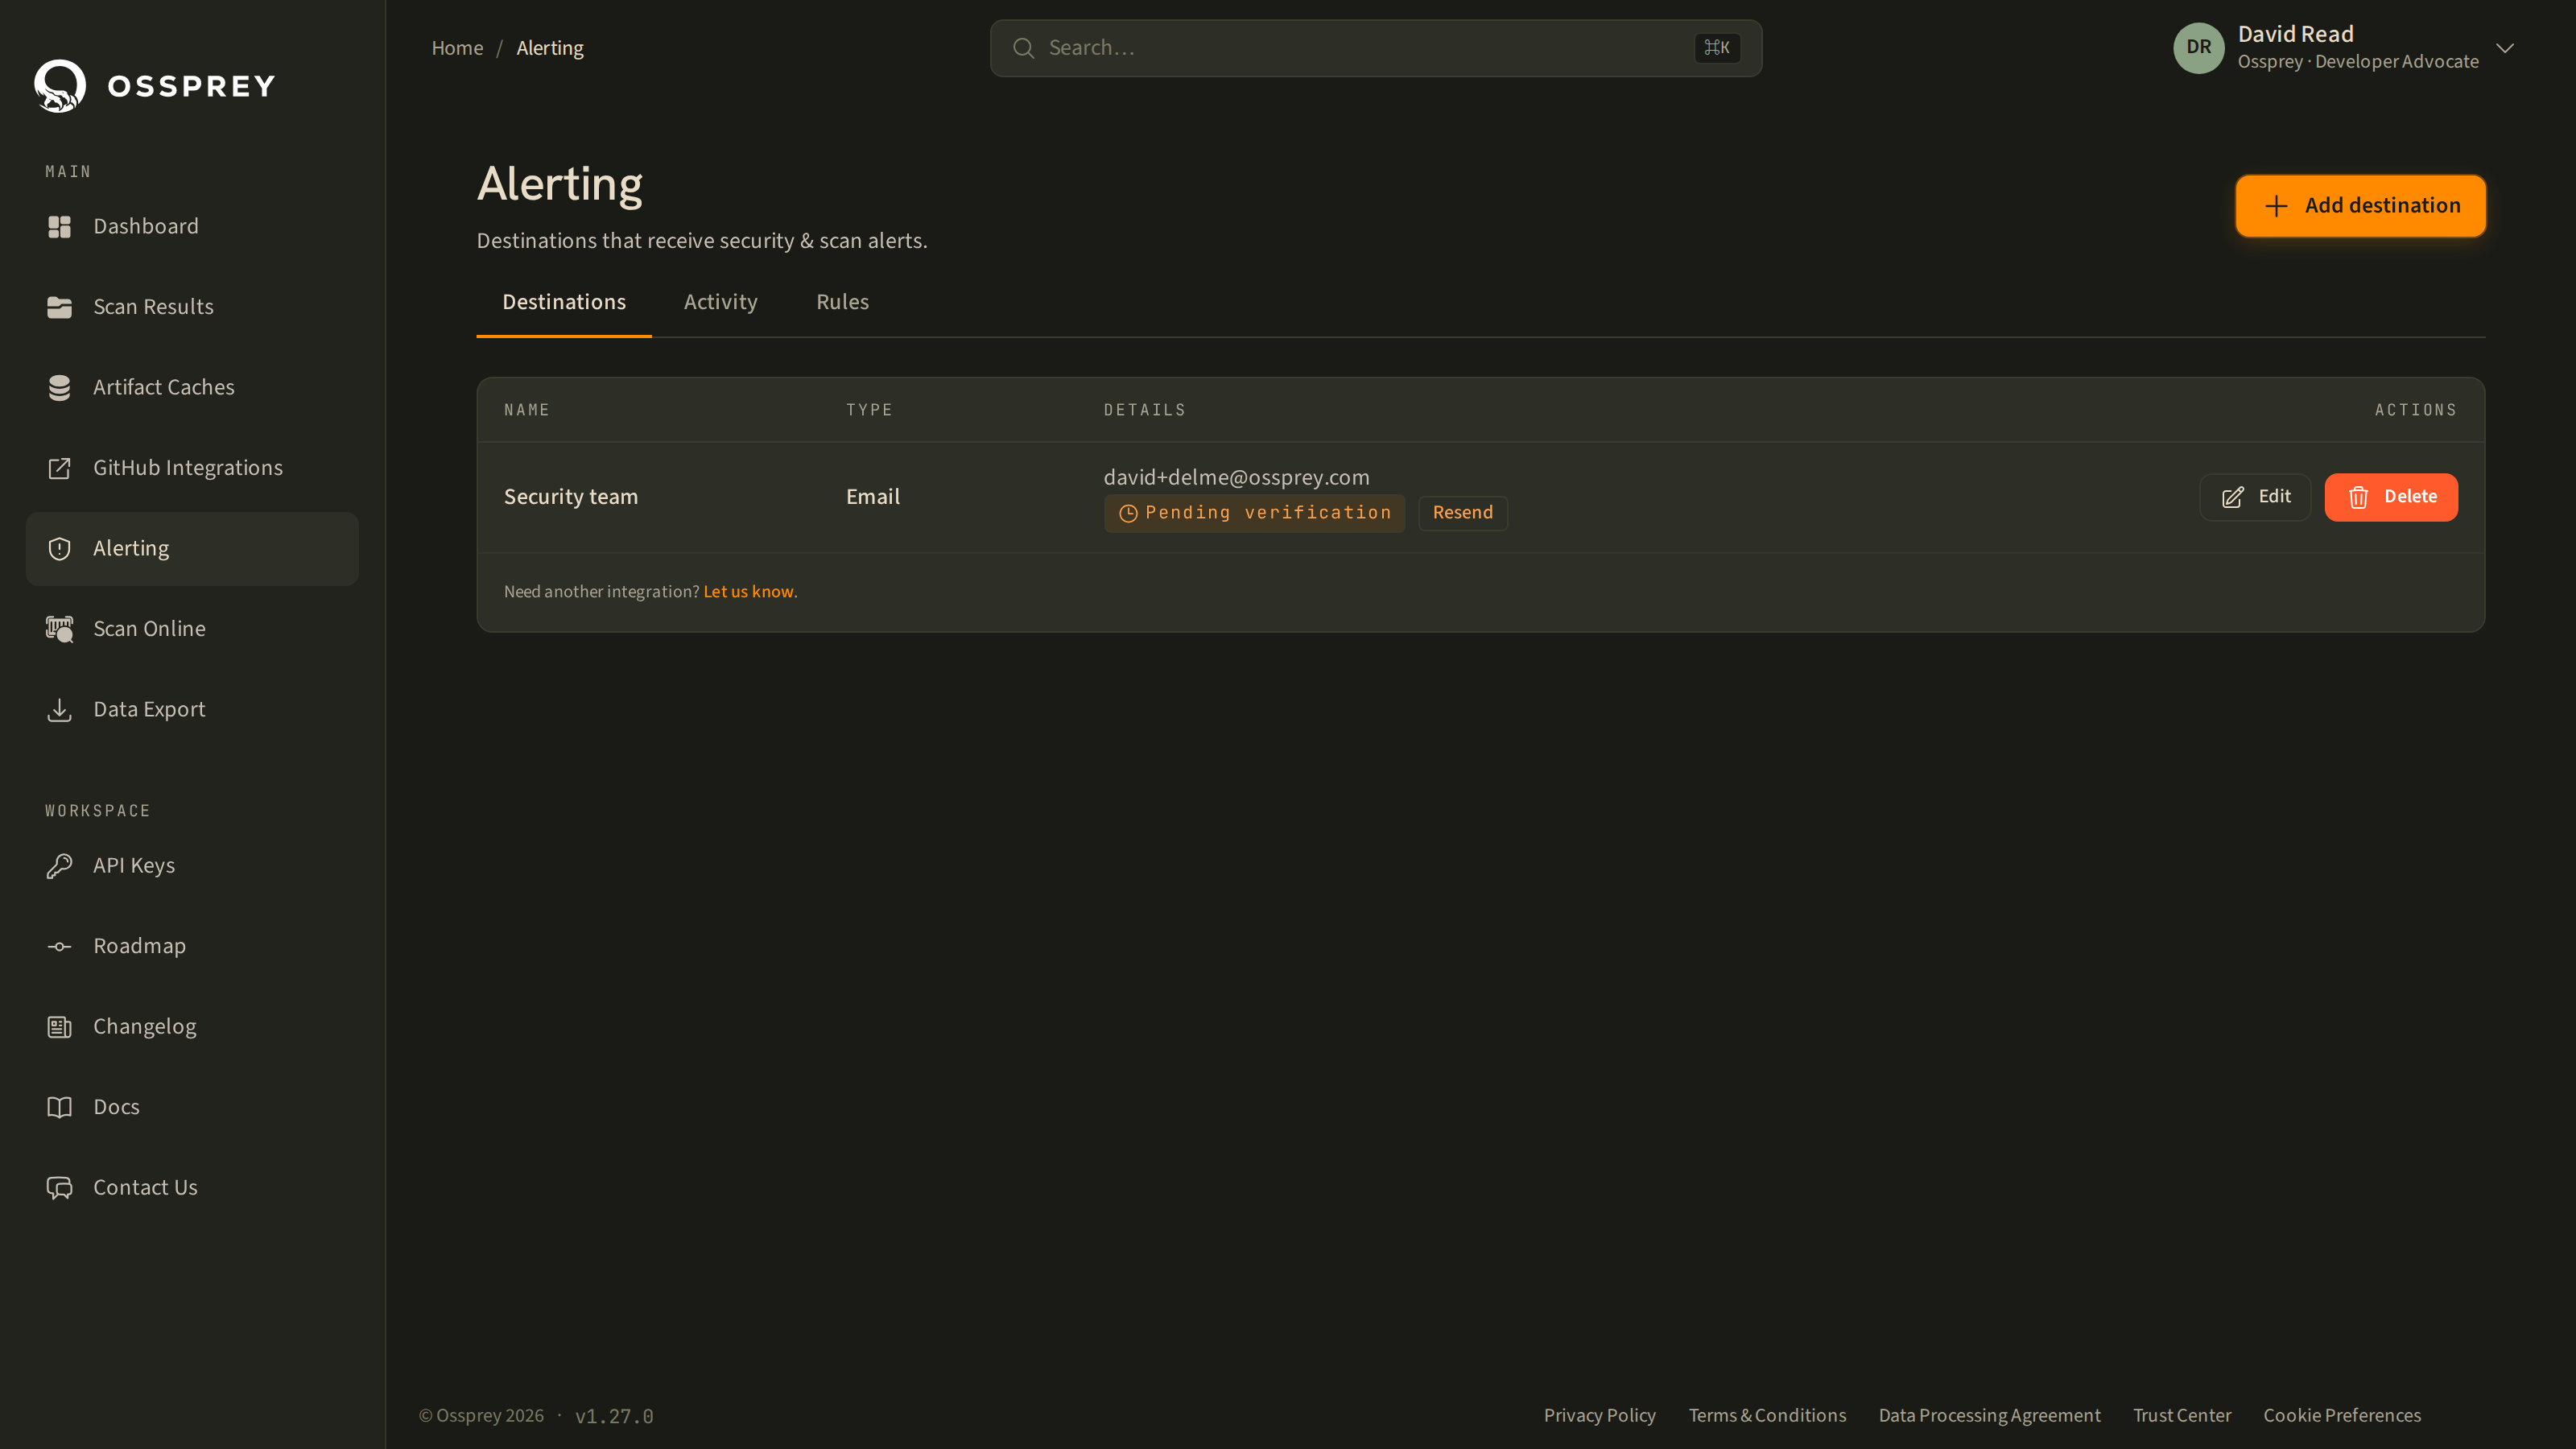
Email destinations must be verified before they receive alerts. Ossprey sends a confirmation email with a one-time link; until you click it, the destination shows a Pending verification badge and rules routing to it will not deliver. If the email doesn't arrive, use Resend on the destinations list (rate-limited to one resend per minute).
Slack
Choose the Slack destination type and Ossprey redirects you through Slack's standard OAuth install flow. Pick the workspace and channel you want alerts posted to, approve the install, and you're returned to Ossprey with the destination connected. Findings land in that channel the moment Ossprey spots them.
incident.io
Pipe findings straight into your incident workflow. In incident.io, create an HTTP alert source, then paste the two values it gives you into Ossprey:
- Alert source URL — the
https://api.incident.io/v2/alert_events/http/…endpoint for that source. - Token — the bearer token for the source. Paste it however incident.io gives it to you; Ossprey accepts the bare token, a
Bearer …string, anAuthorization:line, or the JSON snippet.
Coming soon
SMS, generic webhooks, and PagerDuty appear in the destination picker but aren't selectable yet. If one of these matters to you, tell us at [email protected] — customer demand drives the order we build them in.
Secrets are write-onlyThe Slack credentials and the incident.io token are stored server-side and are never returned to your browser. Editing a destination means re-entering its secret.
Rules
Rules decide which findings alert, and which destinations they reach. Open Alerting → Rules and click Add rule.
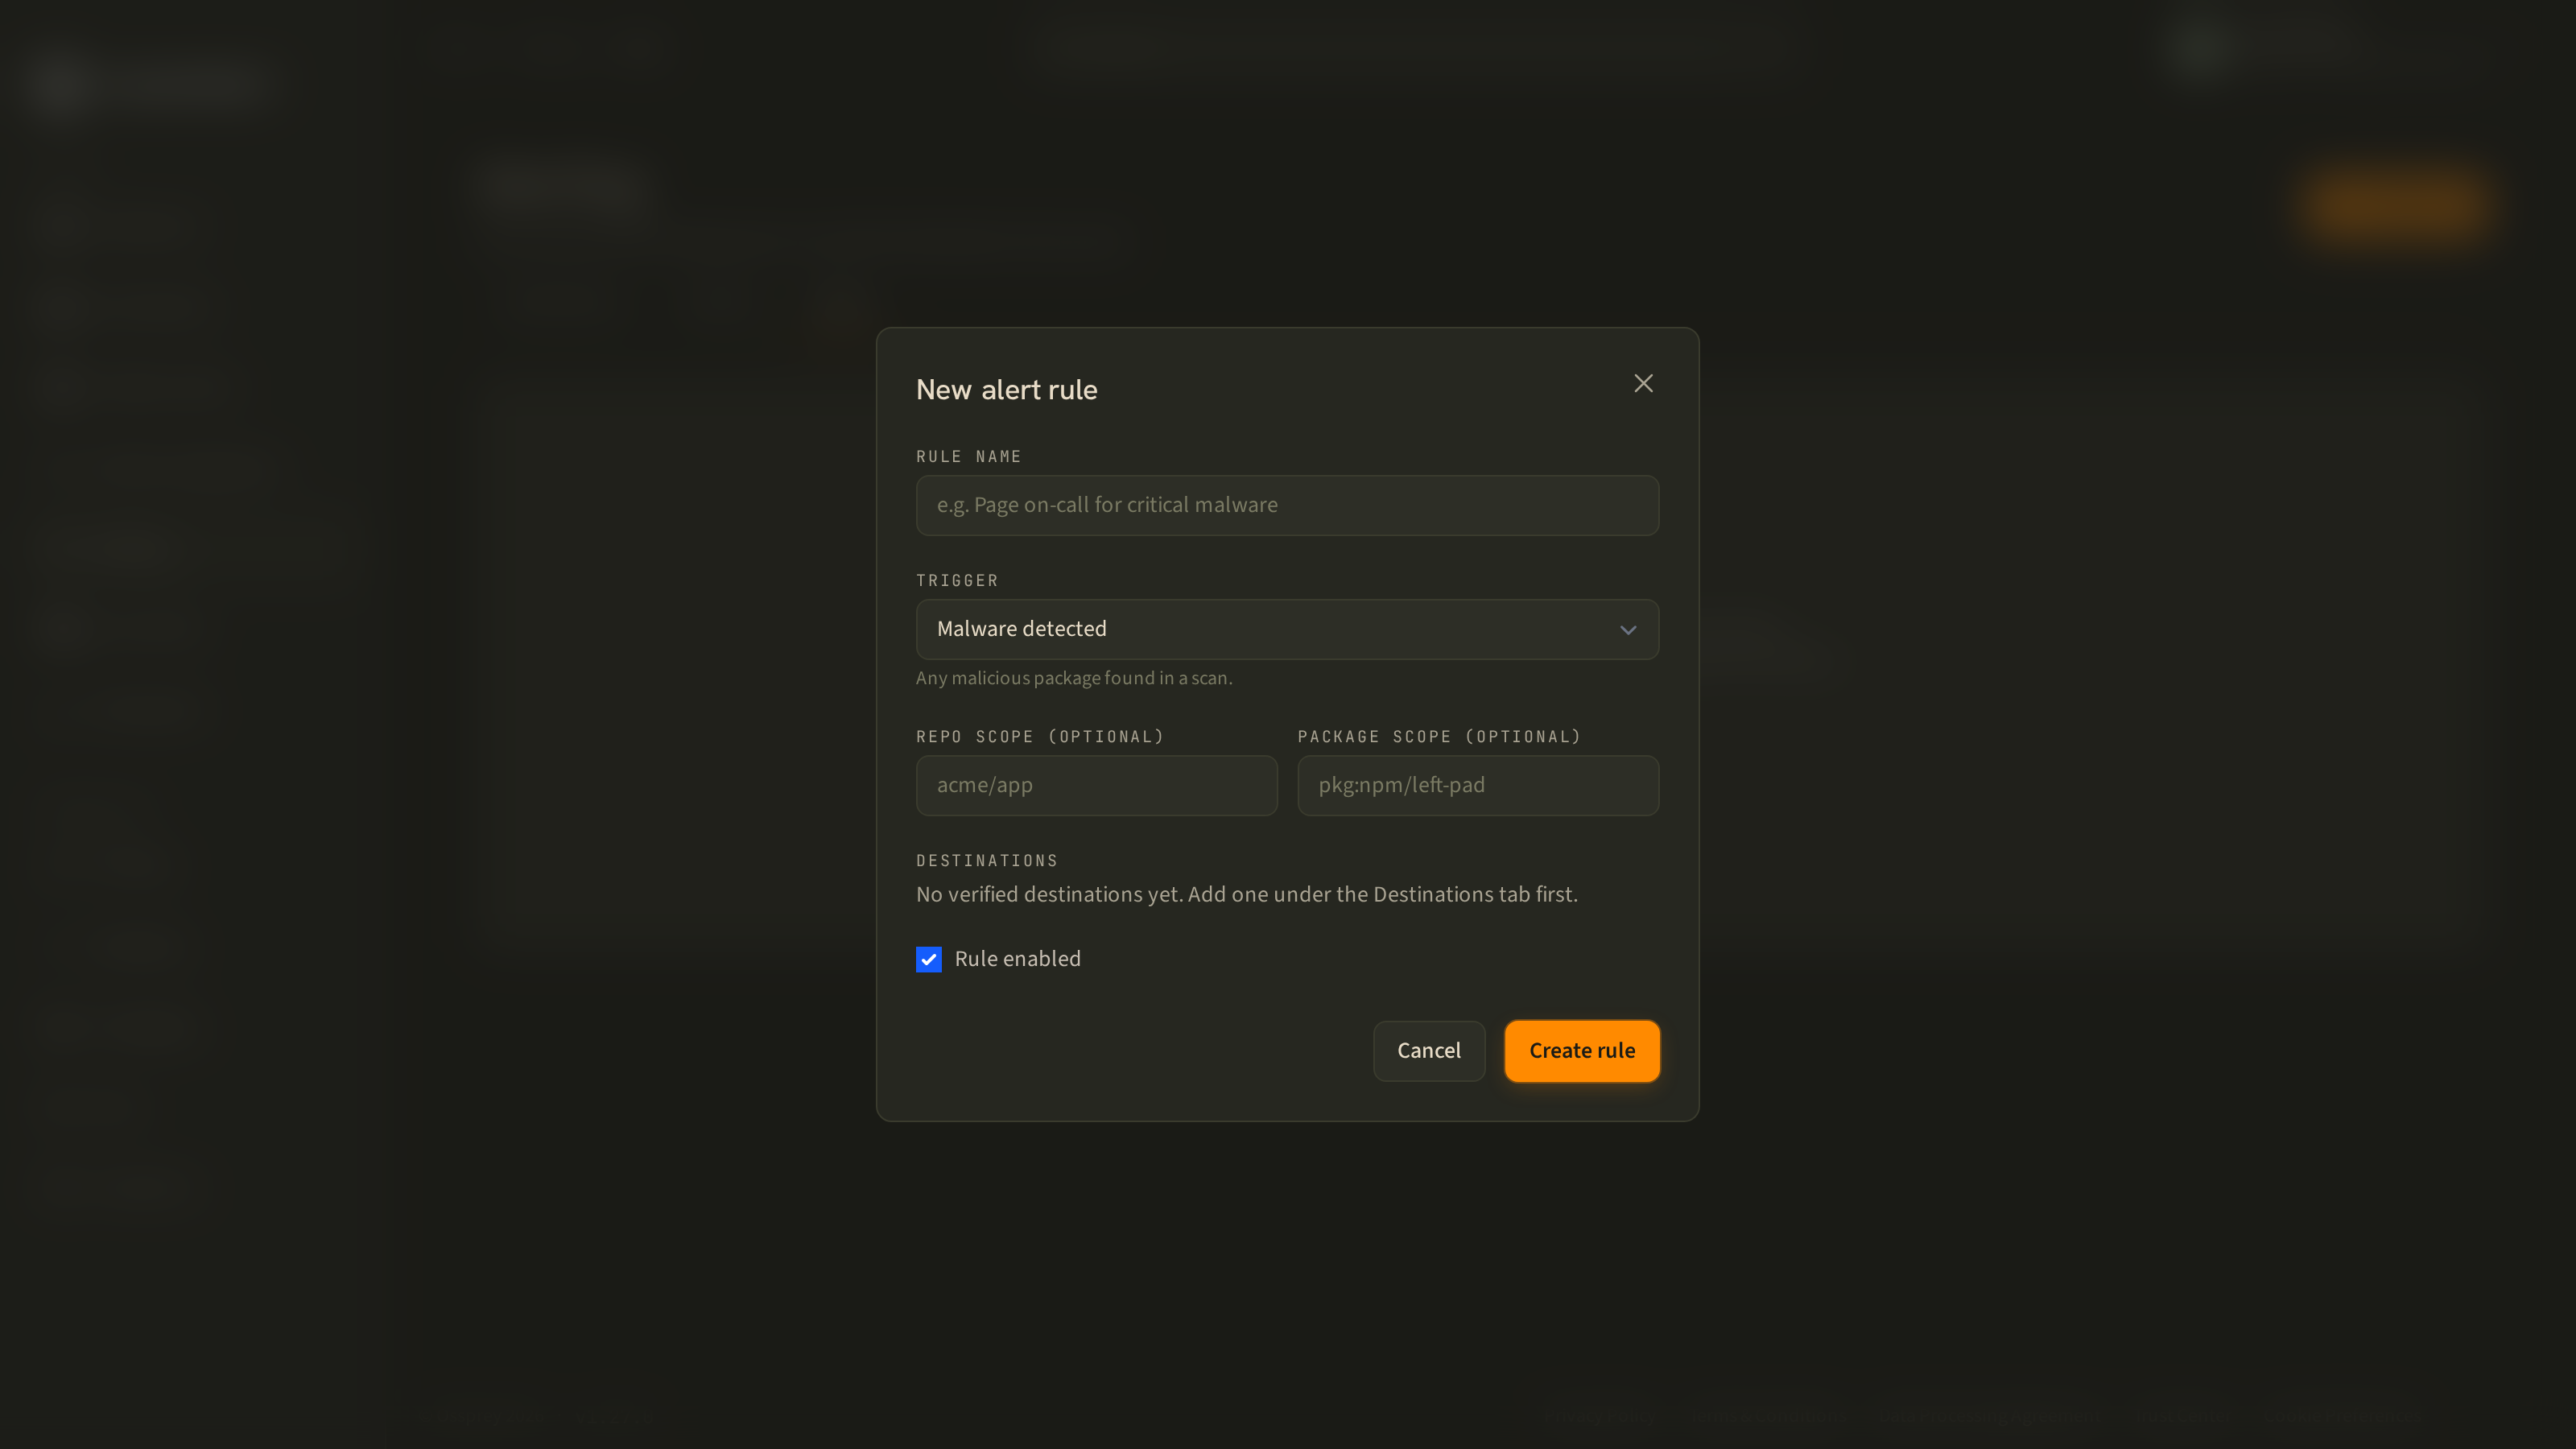
Each rule has:
A trigger — one of:
- Malware detected — any malicious package found in a scan.
- Severity threshold — a finding at or above a severity you choose (
Info,Low,Medium,High,Critical). The rules table shows this as e.g.High+. - Scan failure — a scan errored or failed to complete.
An optional scope — leave both fields blank to match everything, or narrow the rule to:
- a repository, e.g.
acme/app - a package, by Package URL, e.g.
pkg:npm/left-pad
One or more destinations — only verified destinations can be selected.
An enabled/disabled toggle — switch a rule off without deleting it, e.g. while you work through a noisy backlog.
Rules are evaluated independently, so a single finding can match several rules. Practical setups usually pair a broad low-noise rule with a narrow urgent one — for example "any malware, to the team email" alongside "Critical+, to the on-call Slack channel".
Activity
Alerting → Activity is the record of every alert that has fired. Each row shows when it fired, what triggered it, the severity, the repository or package involved, a link through to the scan, and how delivery went to each destination.
Each row also carries an Origin chip naming where the finding came from — a GitHub PR check, a monitored GitHub repo, an artifact cache, a public scan, or a CLI scan — with the specific repo, cache provider, or package underneath. A hit from a PR check and a package pulled through your artifact cache get triaged very differently, so the filter bar lets you narrow by origin too. Events fired before origins were recorded read Unknown.
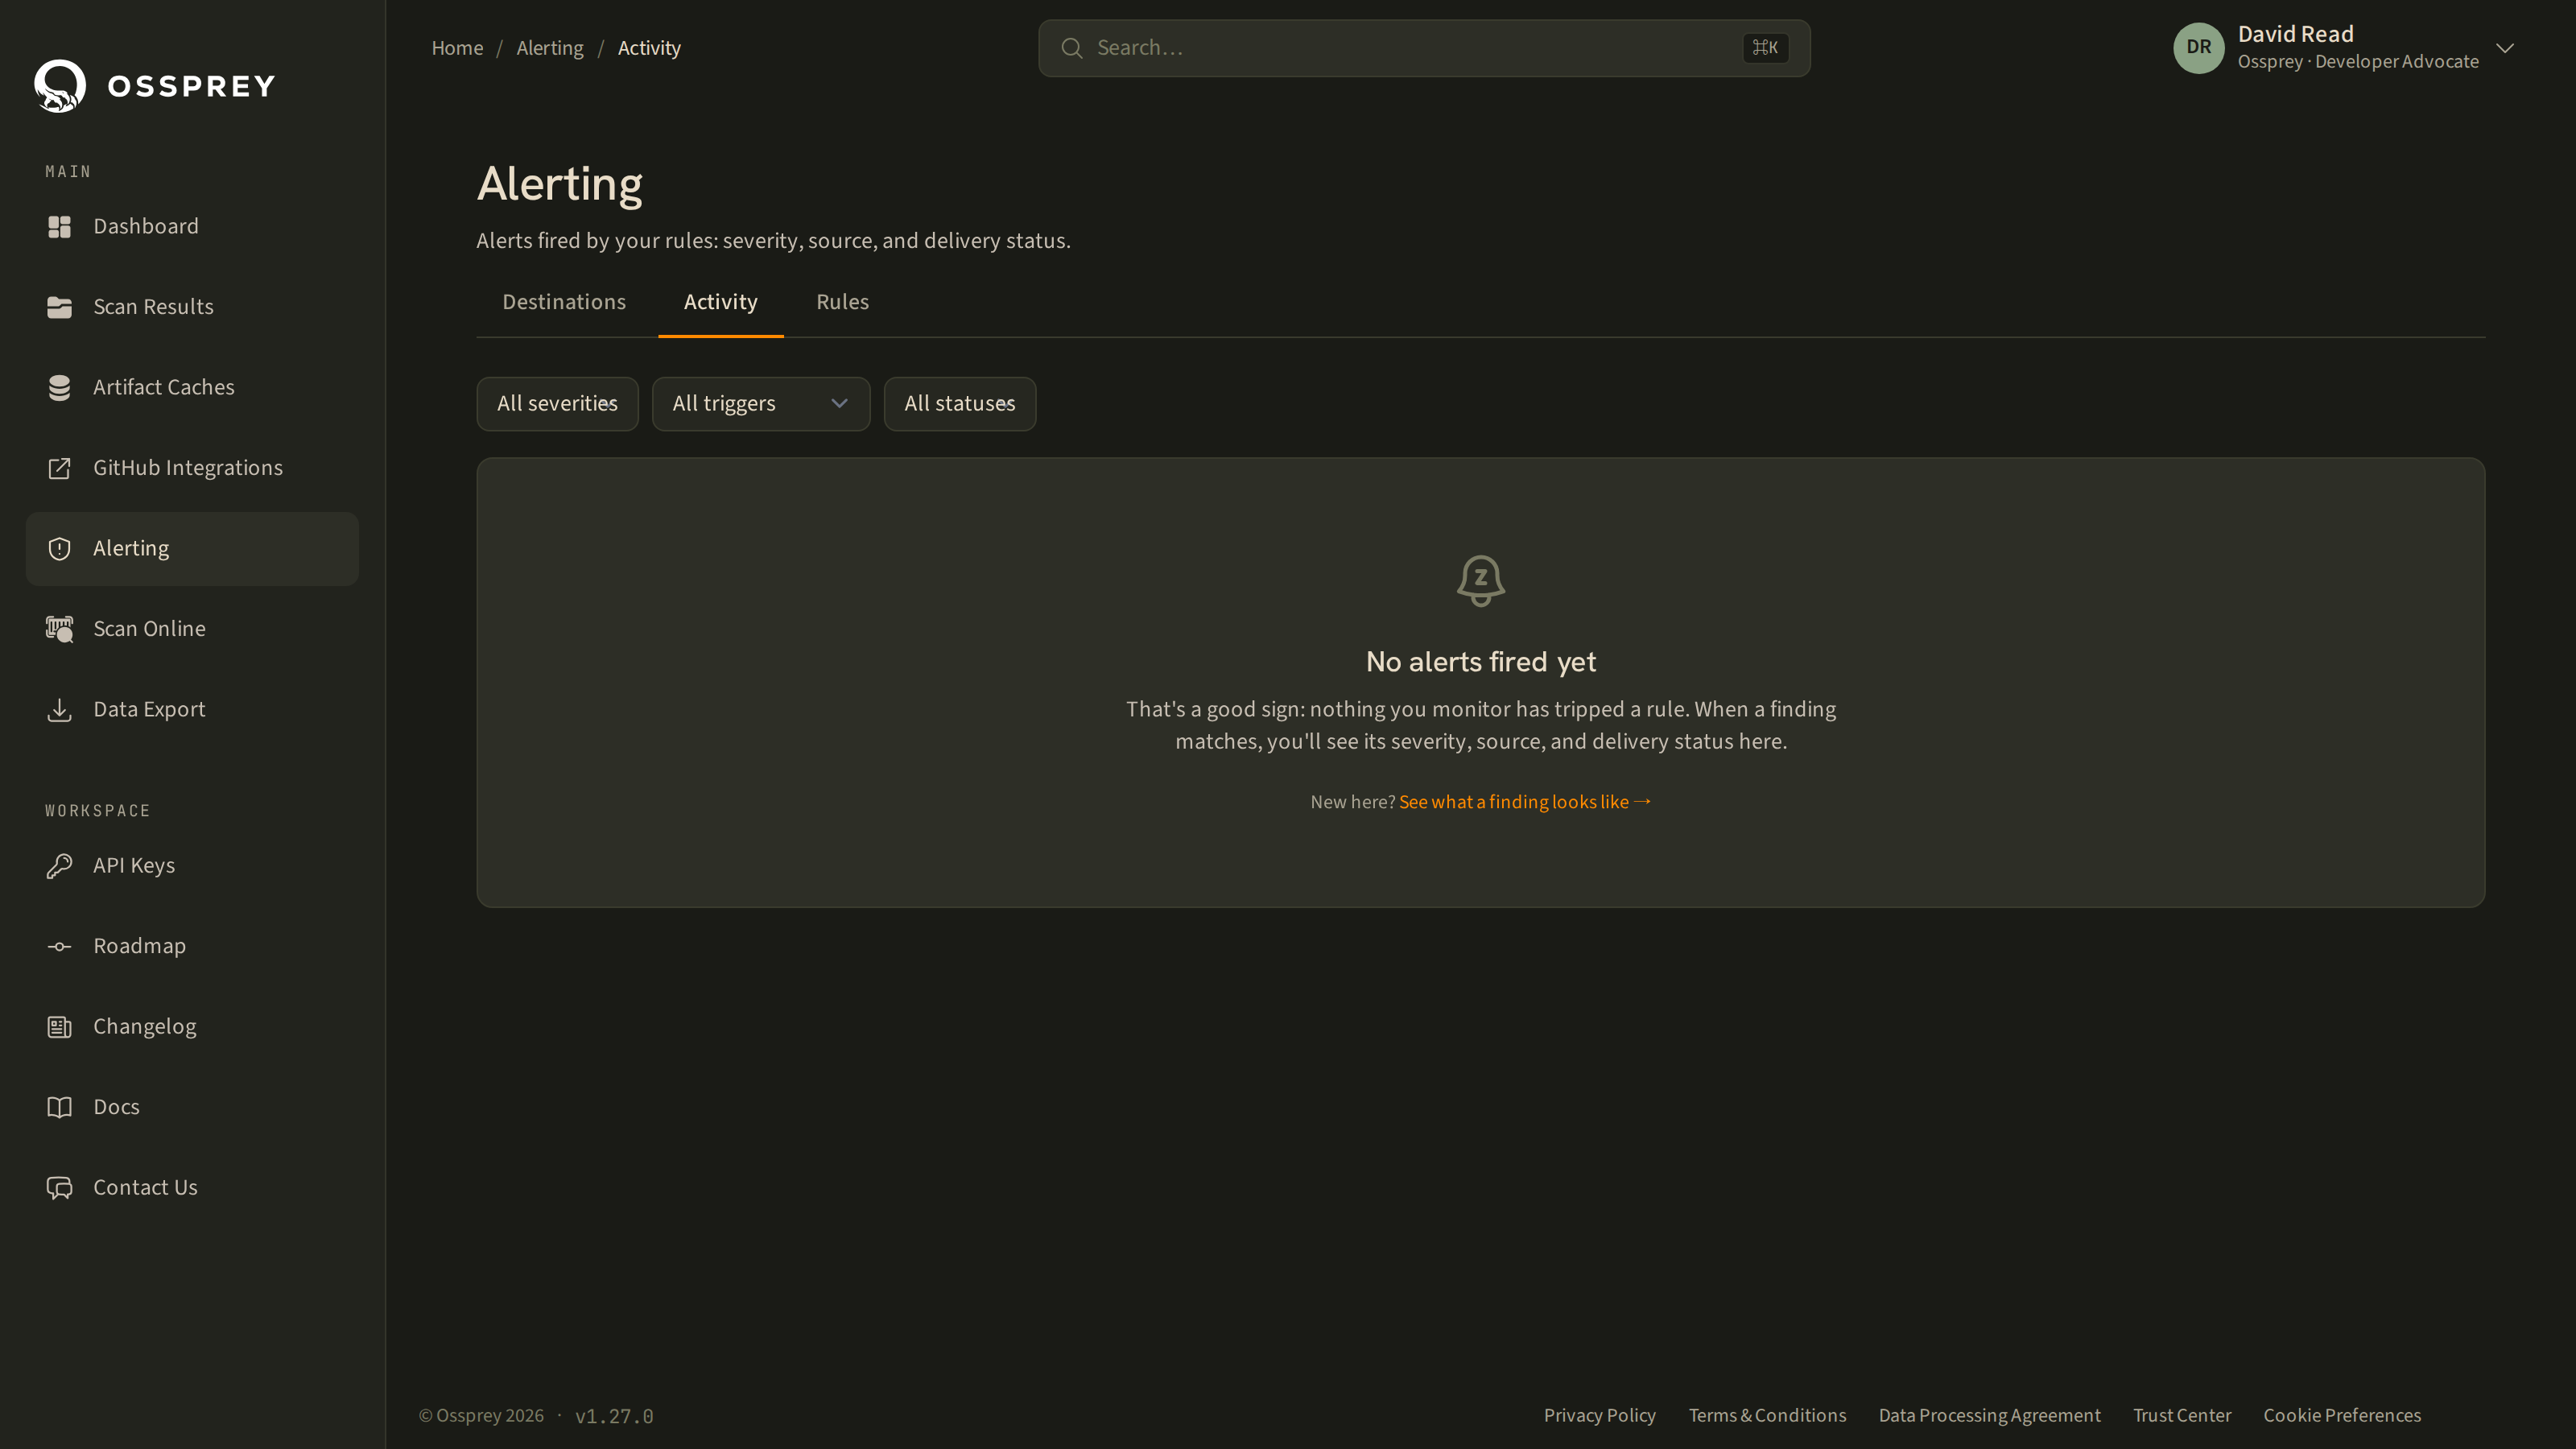
An alert's overall status is one of:
- Delivered — every destination accepted it.
- Partial — some destinations succeeded, others didn't.
- Failed — no destination received it.
Per-destination delivery is recorded as SENT, FAILED, or SKIPPED. A common cause of SKIPPED is an email destination that was never verified.
Click Acknowledge on an event to mark it as handled. The tab shows a count of unacknowledged events, so Activity doubles as a lightweight triage queue. You can filter the list by severity, trigger type, origin, delivery status, and acknowledged state.
Other ways Ossprey tells you
Alerting isn't the only feedback channel.
- Proactive re-notification. If a package you have already scanned is later identified as malicious, Ossprey notifies you — you don't have to re-run a scan to find out that yesterday's clean result has changed.
- The dashboard home page. The Malware detected metric is live; if it climbs, investigate. See Understanding Your Dashboard.
- CI/CD exit codes. The CLI exits
1when malware is found, which fails your pipeline. See CLI Tool. - Blocked installs. Running installs through the CLI's package-manager forwarder (
ossprey npm install …) blocks a malicious package before it reaches the machine. - Data export. Pull findings and history out as CSV for your own reporting and monitoring — see Data Export.
Feedback welcome
We're actively developing alerting. If you need a destination type or trigger we don't support yet, let us know which integrations matter most to you — contact us at [email protected].
Updated about 1 month ago