
Getting Started
Get up and running with Ossprey in just a few minutes — create your account and run your first scan.
Get up and running with Ossprey in just a few minutes. This guide walks you through creating your account and running your first scan.
Creating your account
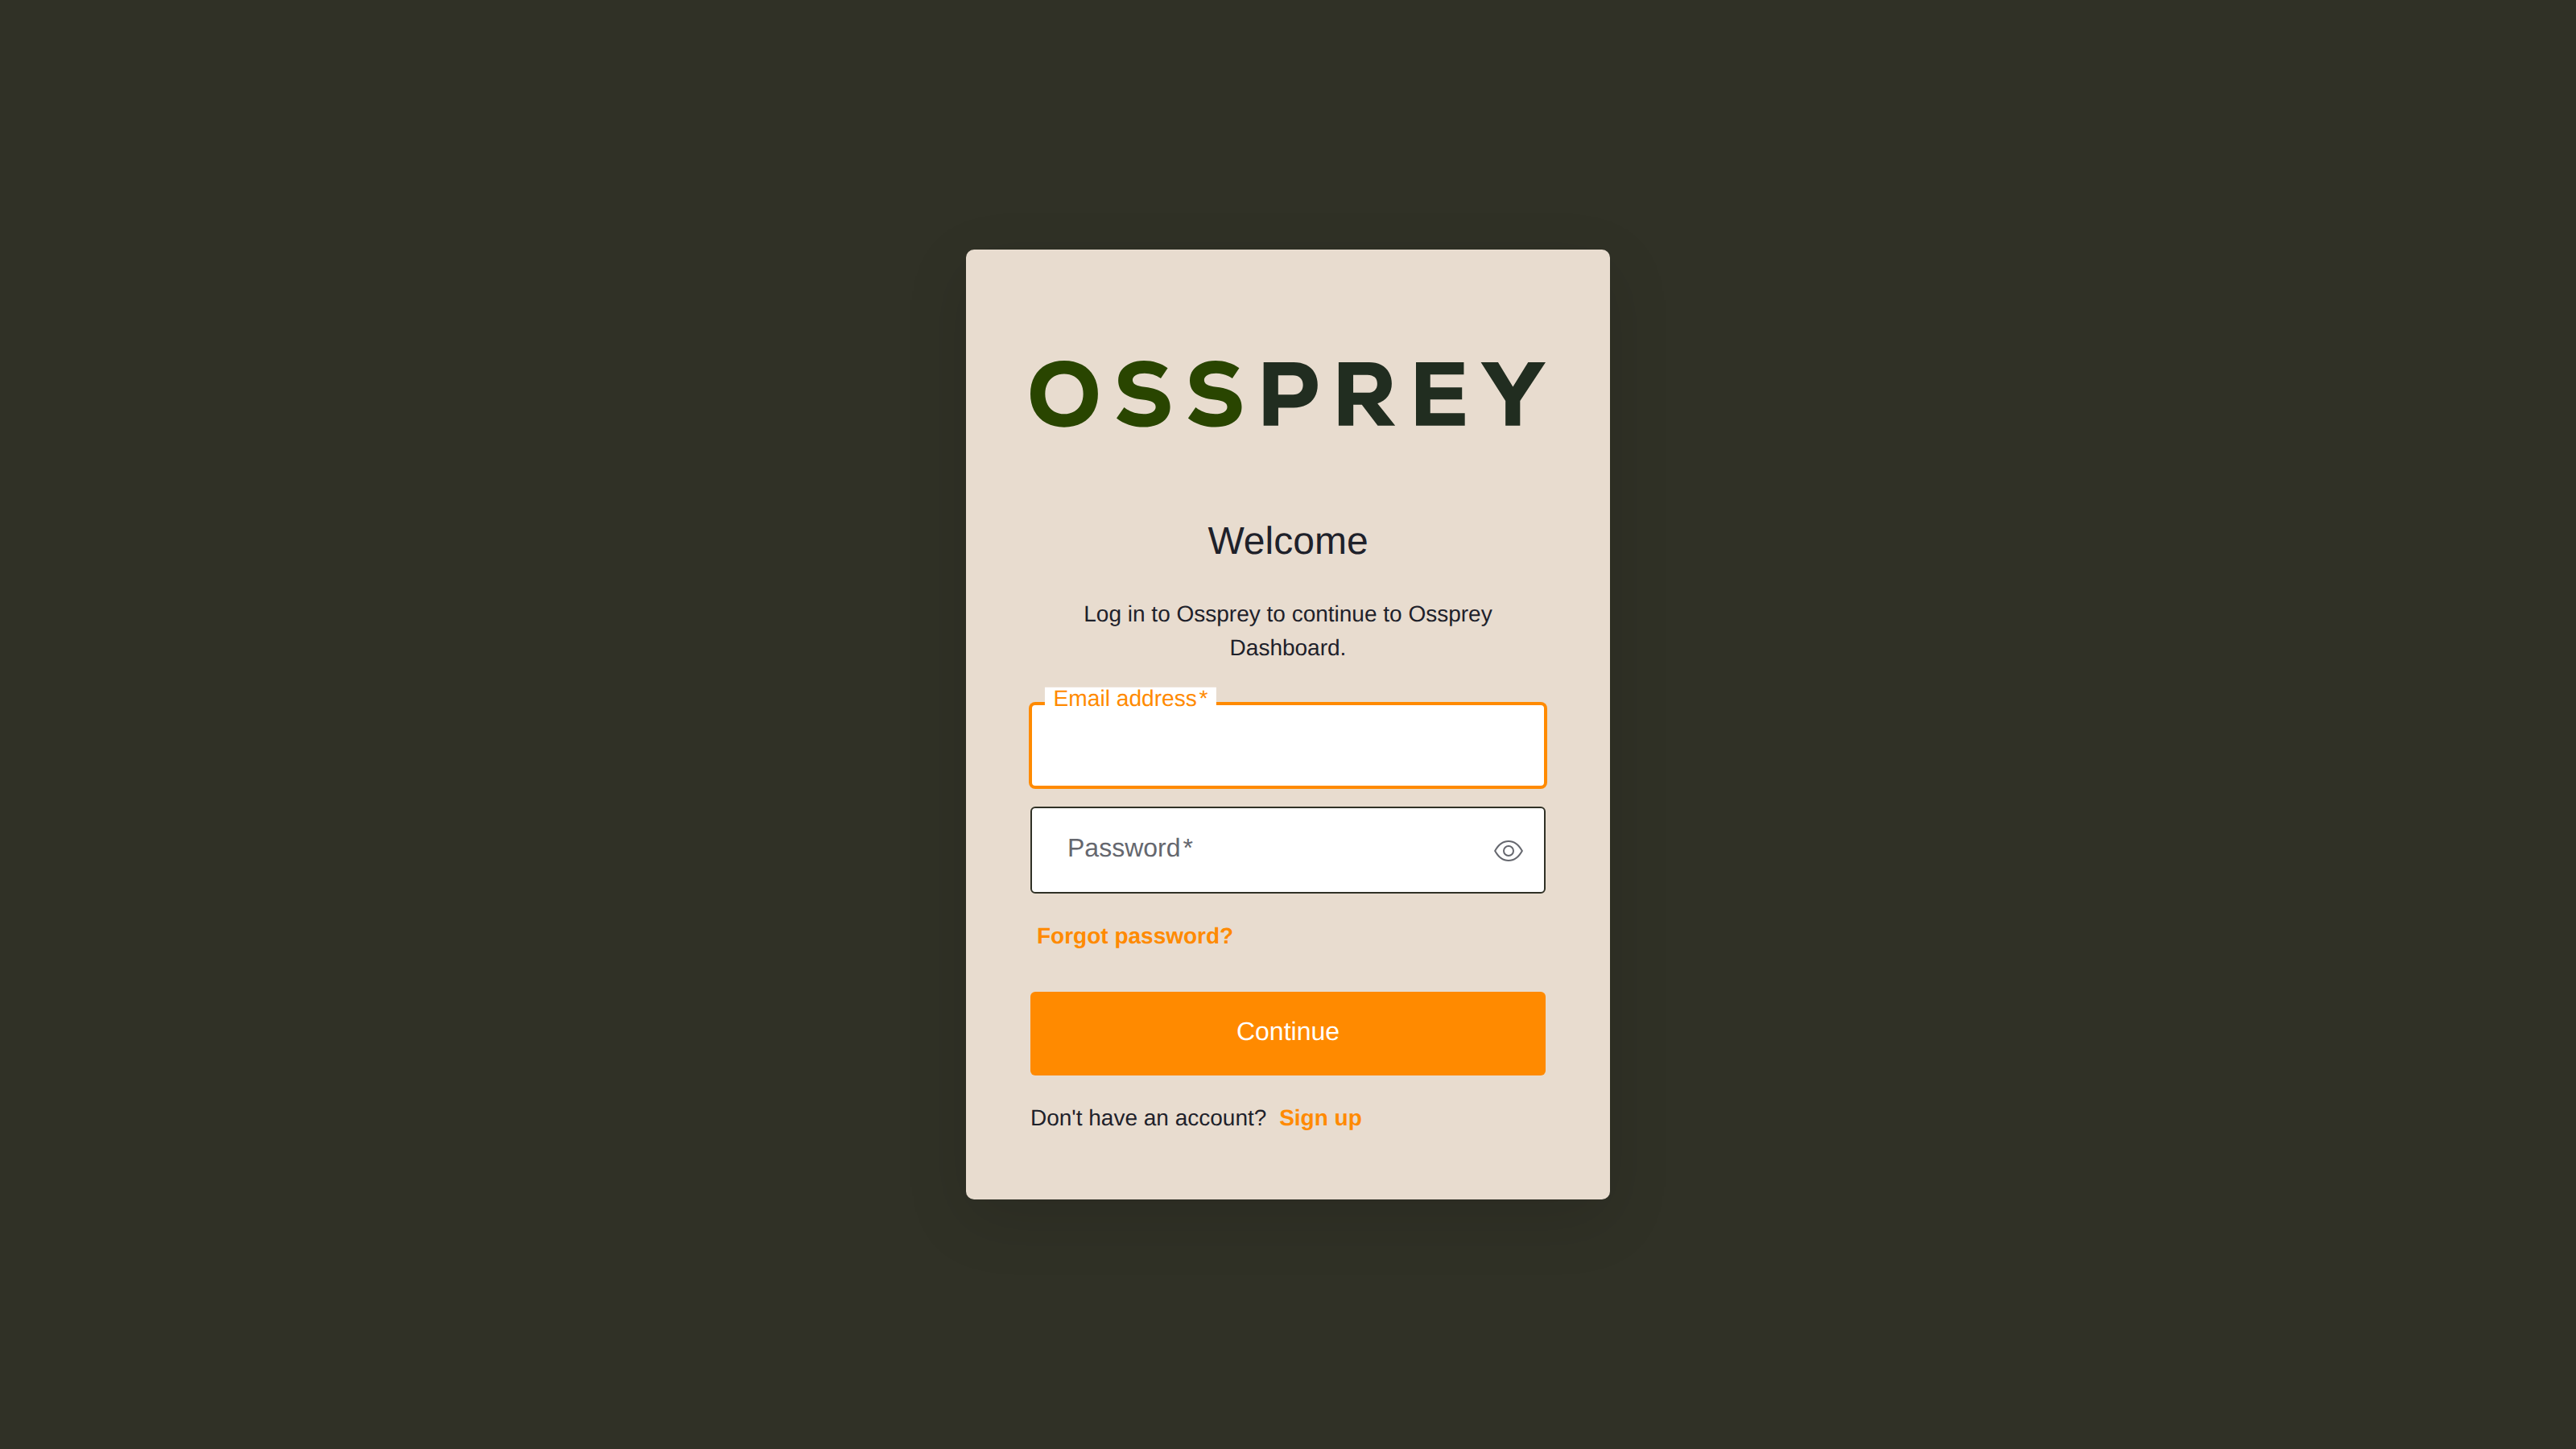
- Visit dashboard.ossprey.com
- Click Sign Up or Log In
- You can sign up using email and password
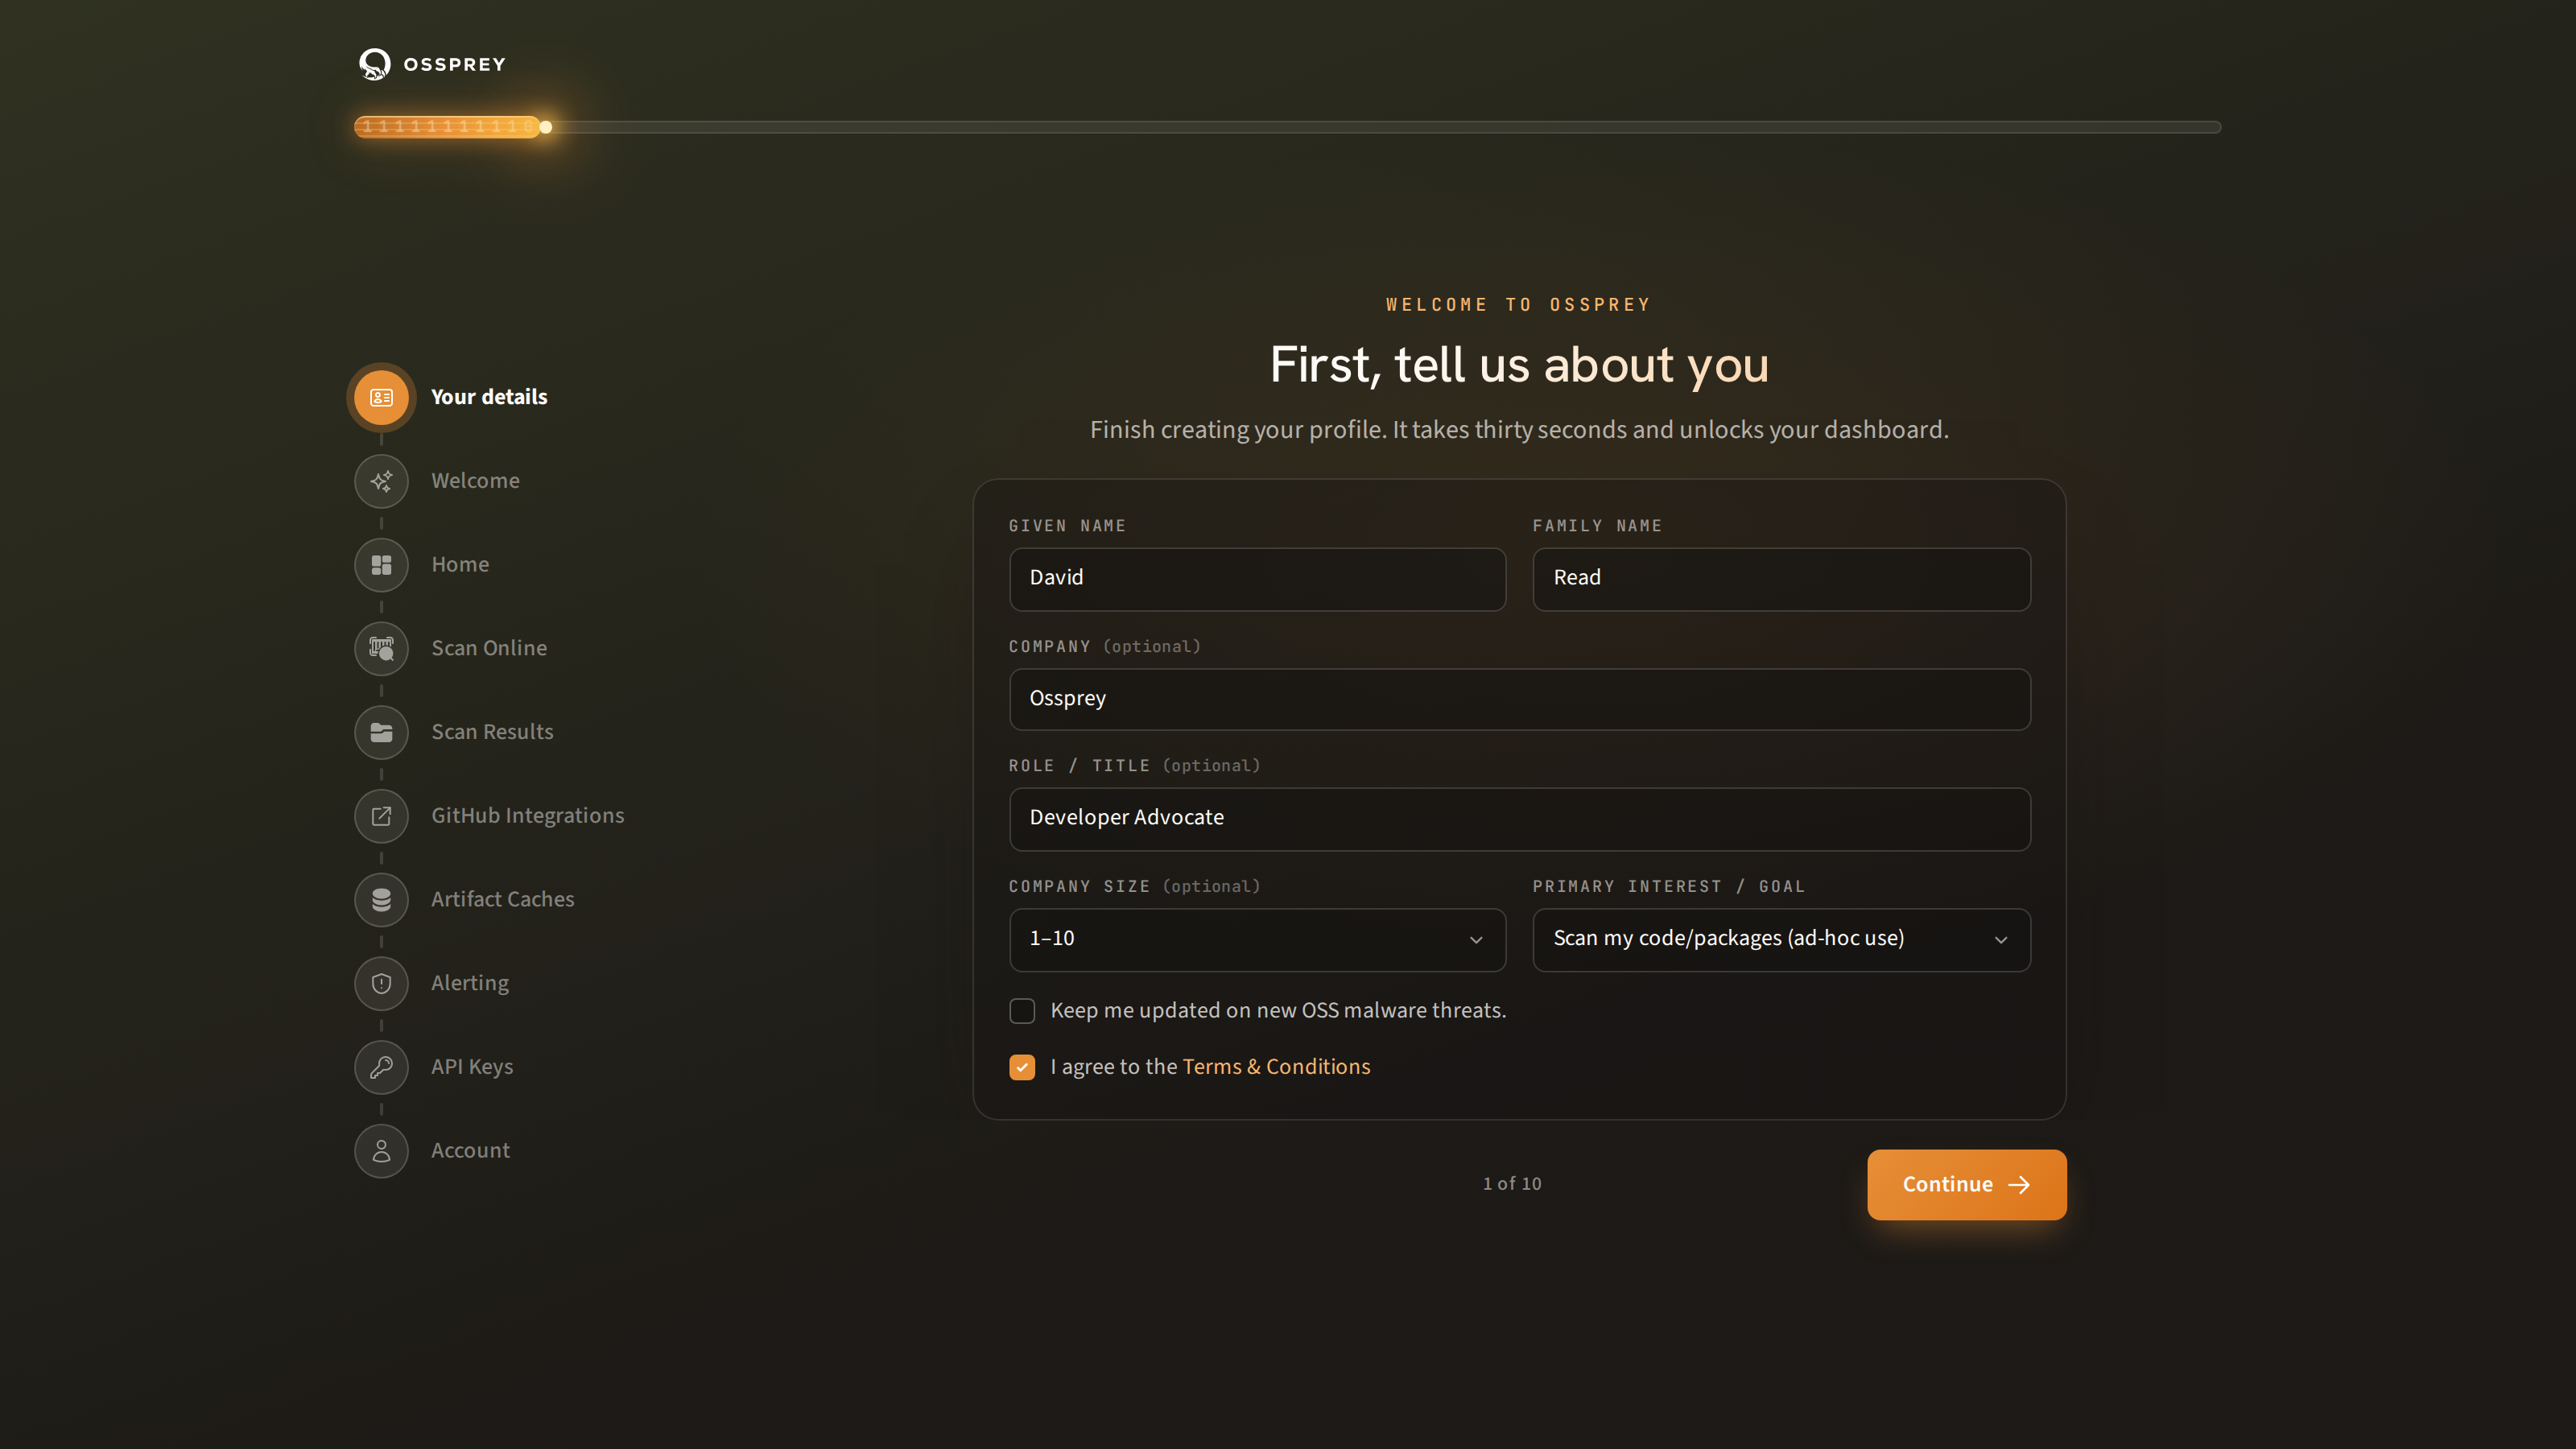
When you first log in, you'll be asked to complete a quick profile: enter your name, optionally provide company information, and accept terms and conditions. Once you've submitted your profile, your account will be reviewed. You'll receive an email once you're approved, and then you'll be taken to your dashboard home page.
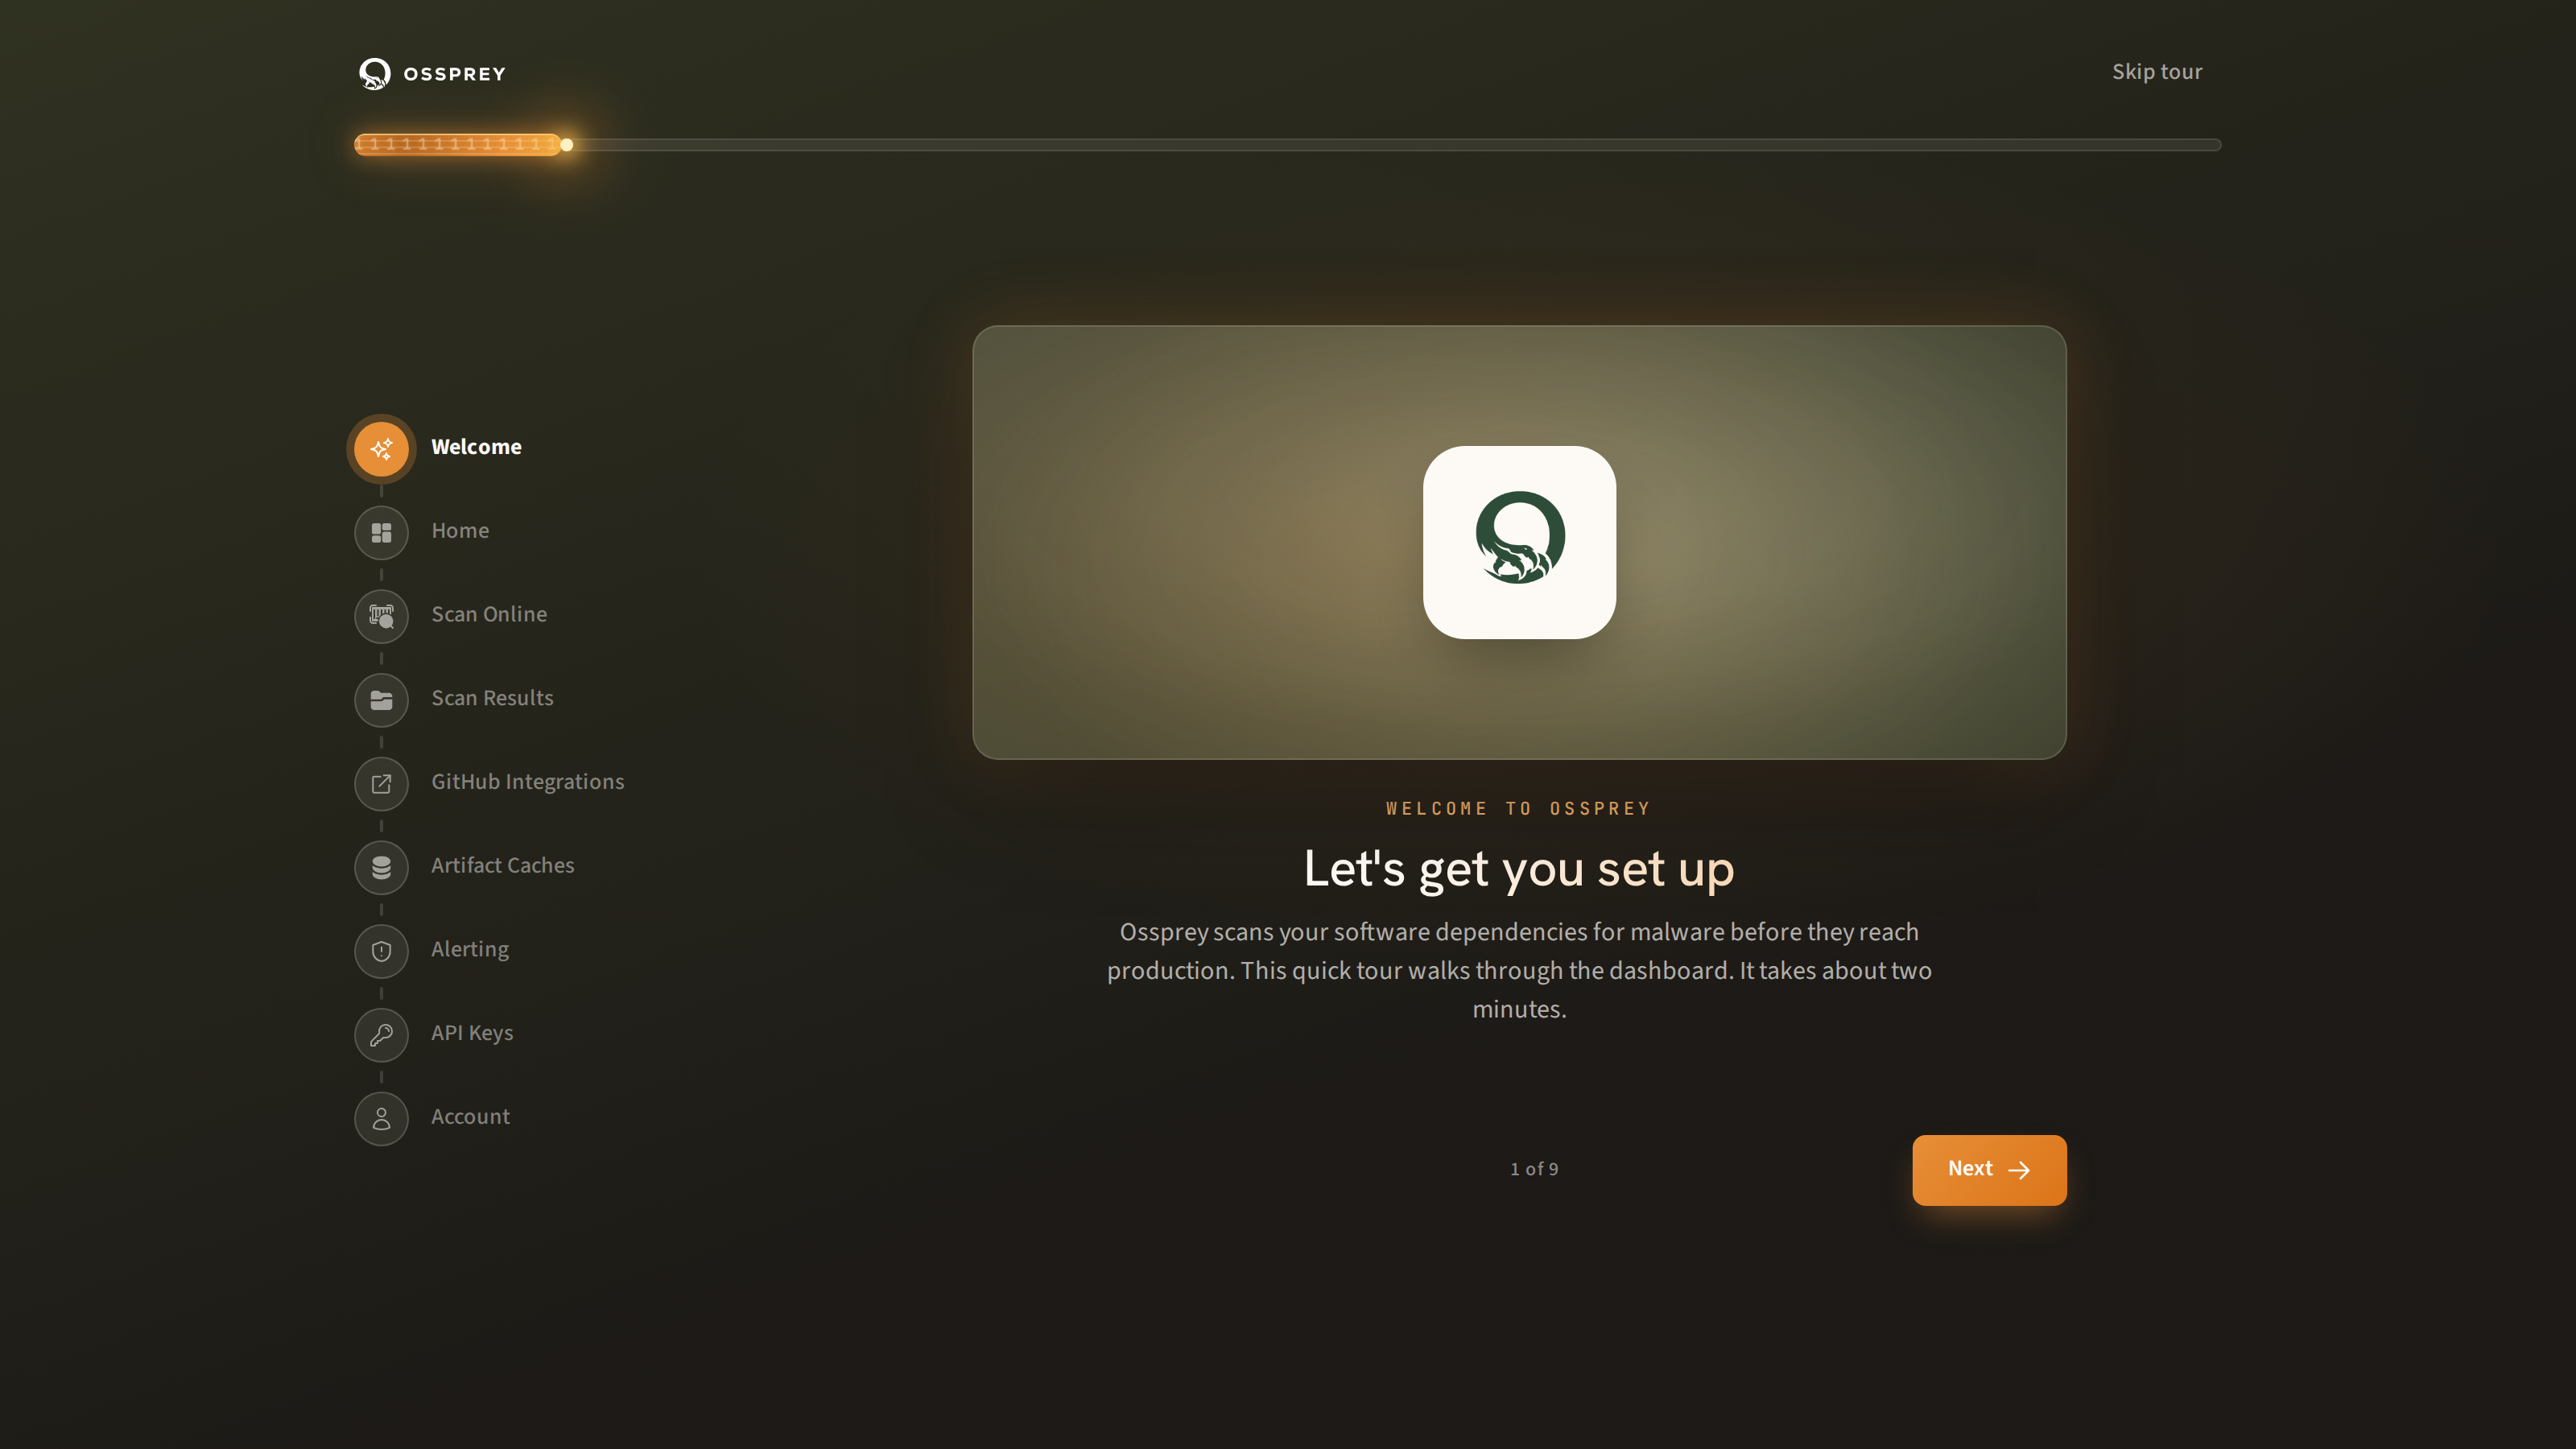
After your profile is saved, a short welcome tour walks you through each area of the dashboard. You can skip it, or replay it later from Account settings.
Your first scan
You have multiple options for your first scan:
Option 1: Connect GitHub (Recommended)
The easiest way to get started is to connect your GitHub repositories:
- Navigate to GitHub Integrations in the sidebar
- Click Connect GitHub
- Select the organisation or account you want to connect
- Choose which repositories Ossprey can access
- Your repositories will begin scanning automatically
Option 2: Scan a package manually
Want to quickly check a specific package?
- Navigate to Scan Online in the sidebar
- Enter the package details — name (e.g.
lodash), version (e.g.4.17.21), and ecosystem (npm or PyPI) - Click Scan — results appear inline on the same page
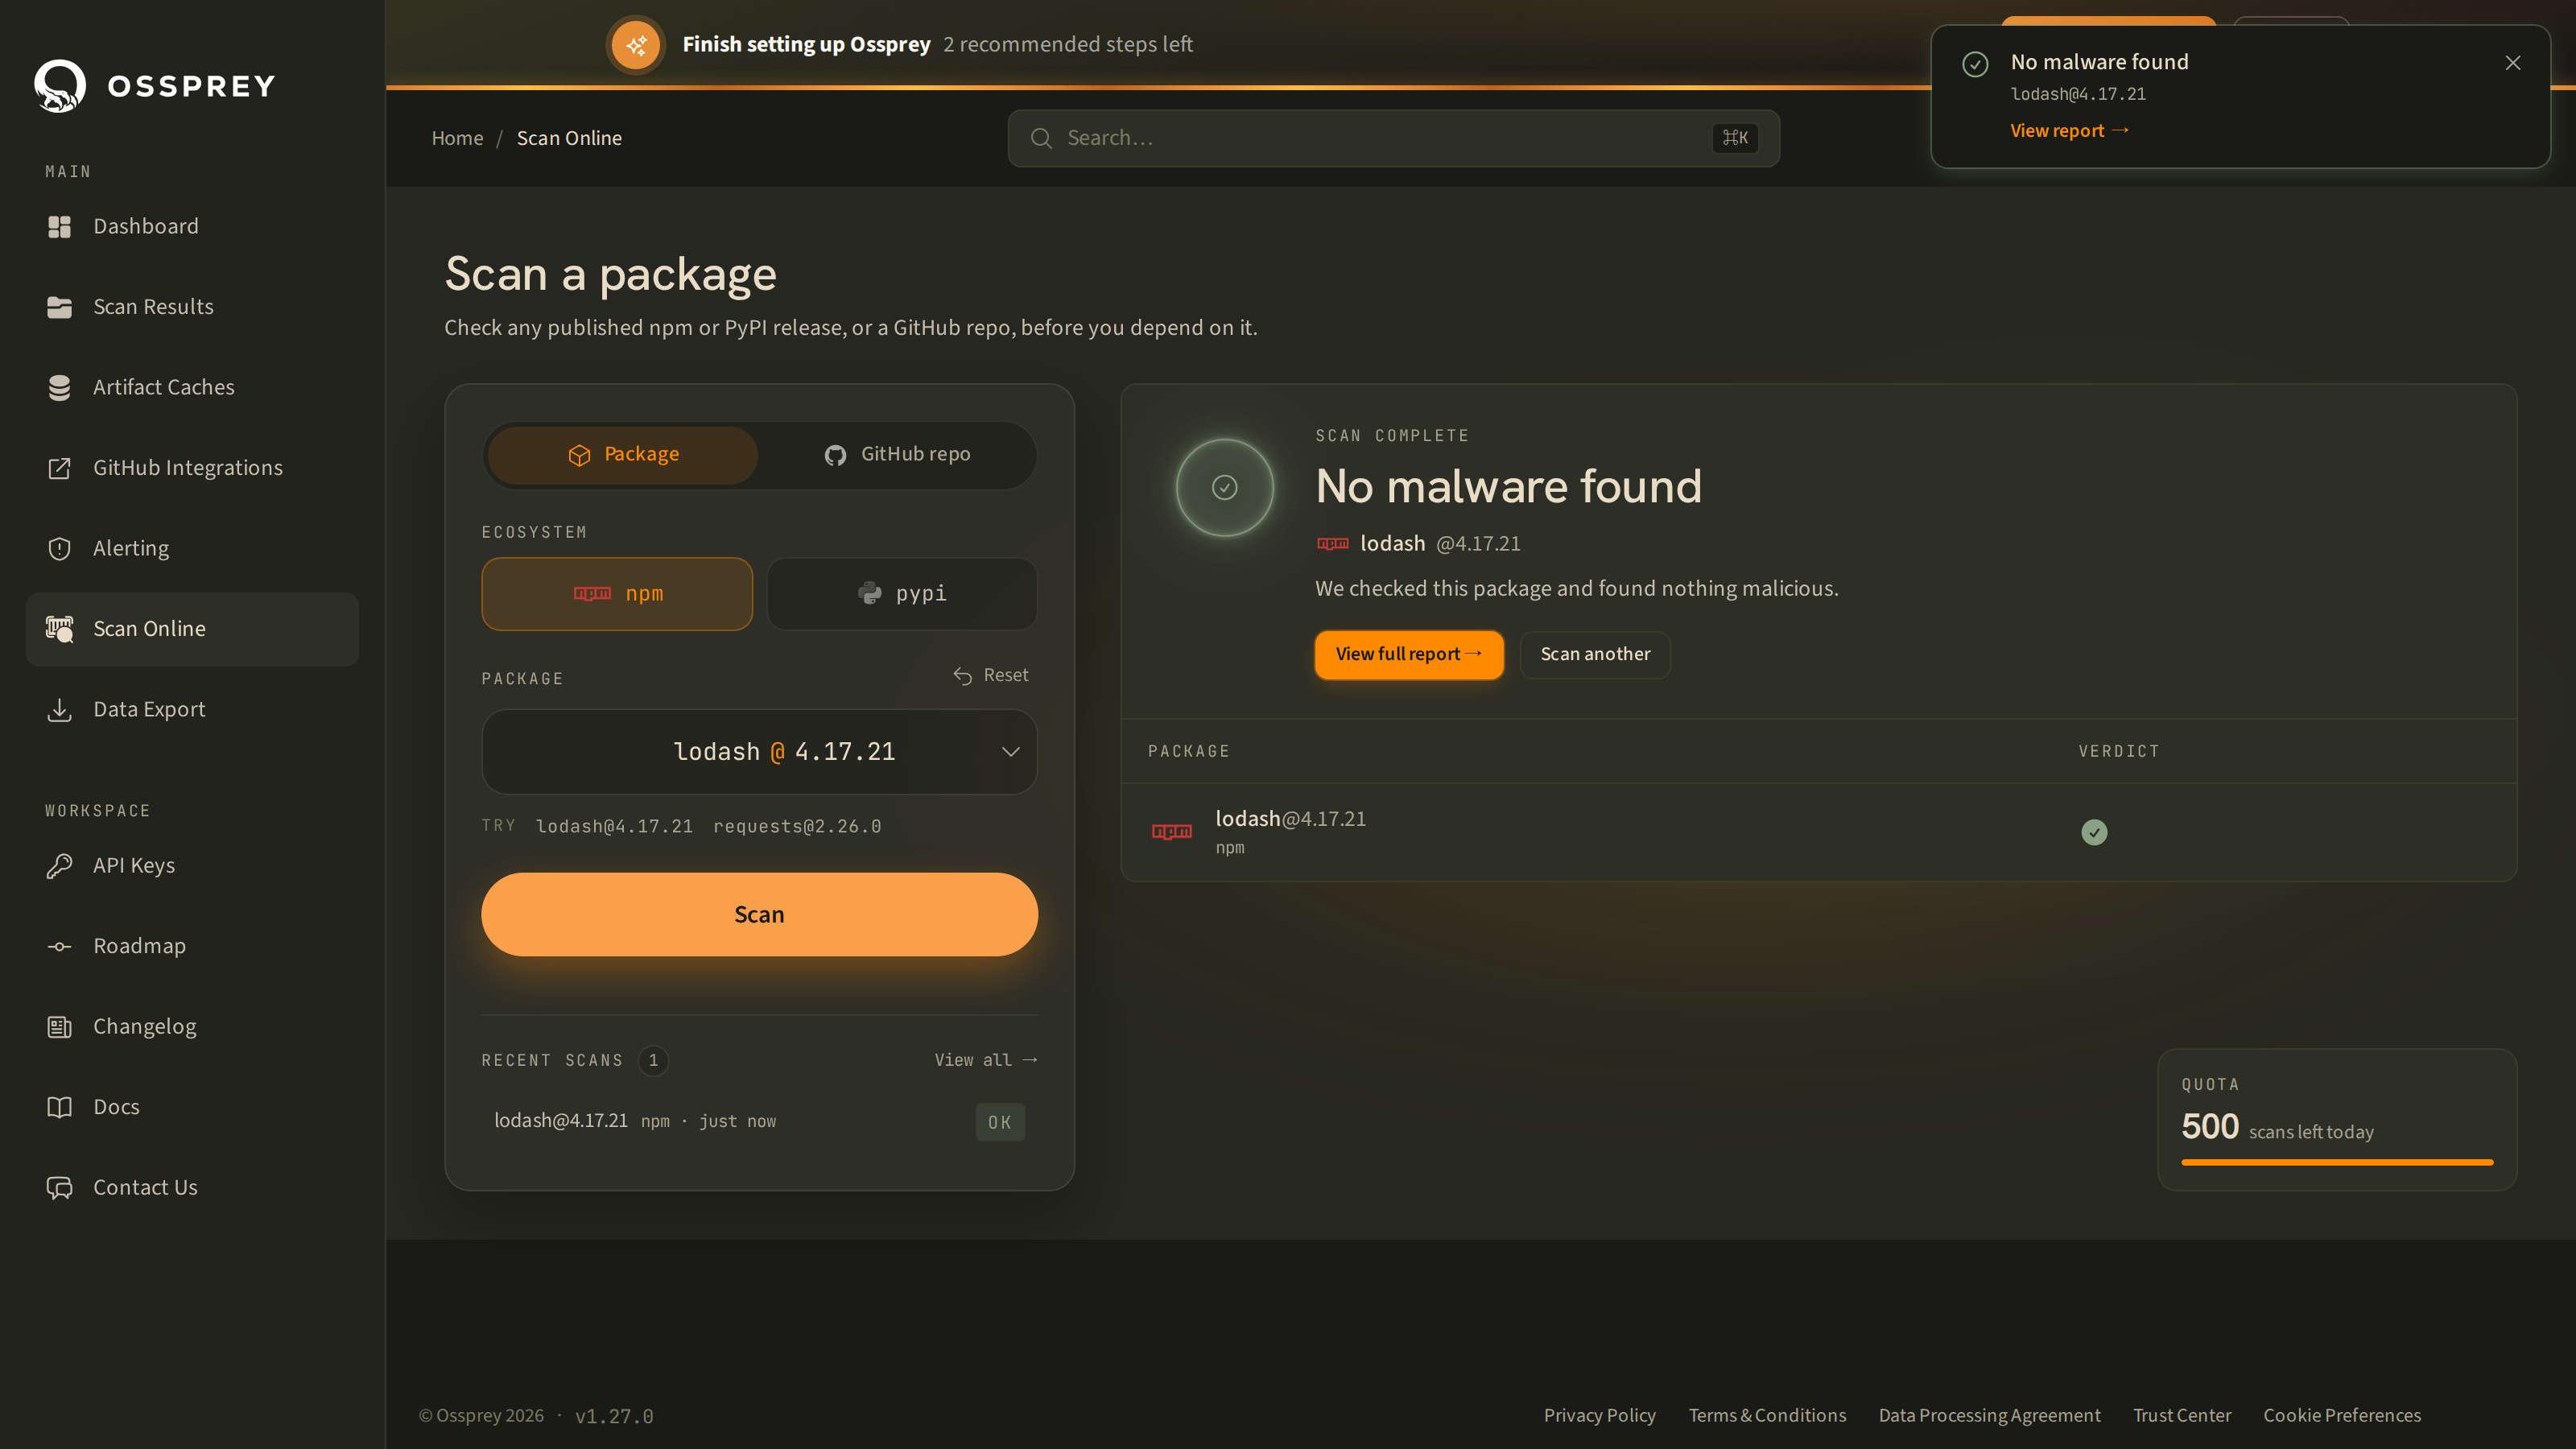
The same page has a GitHub repo tab, so you can scan any public repository by pasting its URL — no installation required.
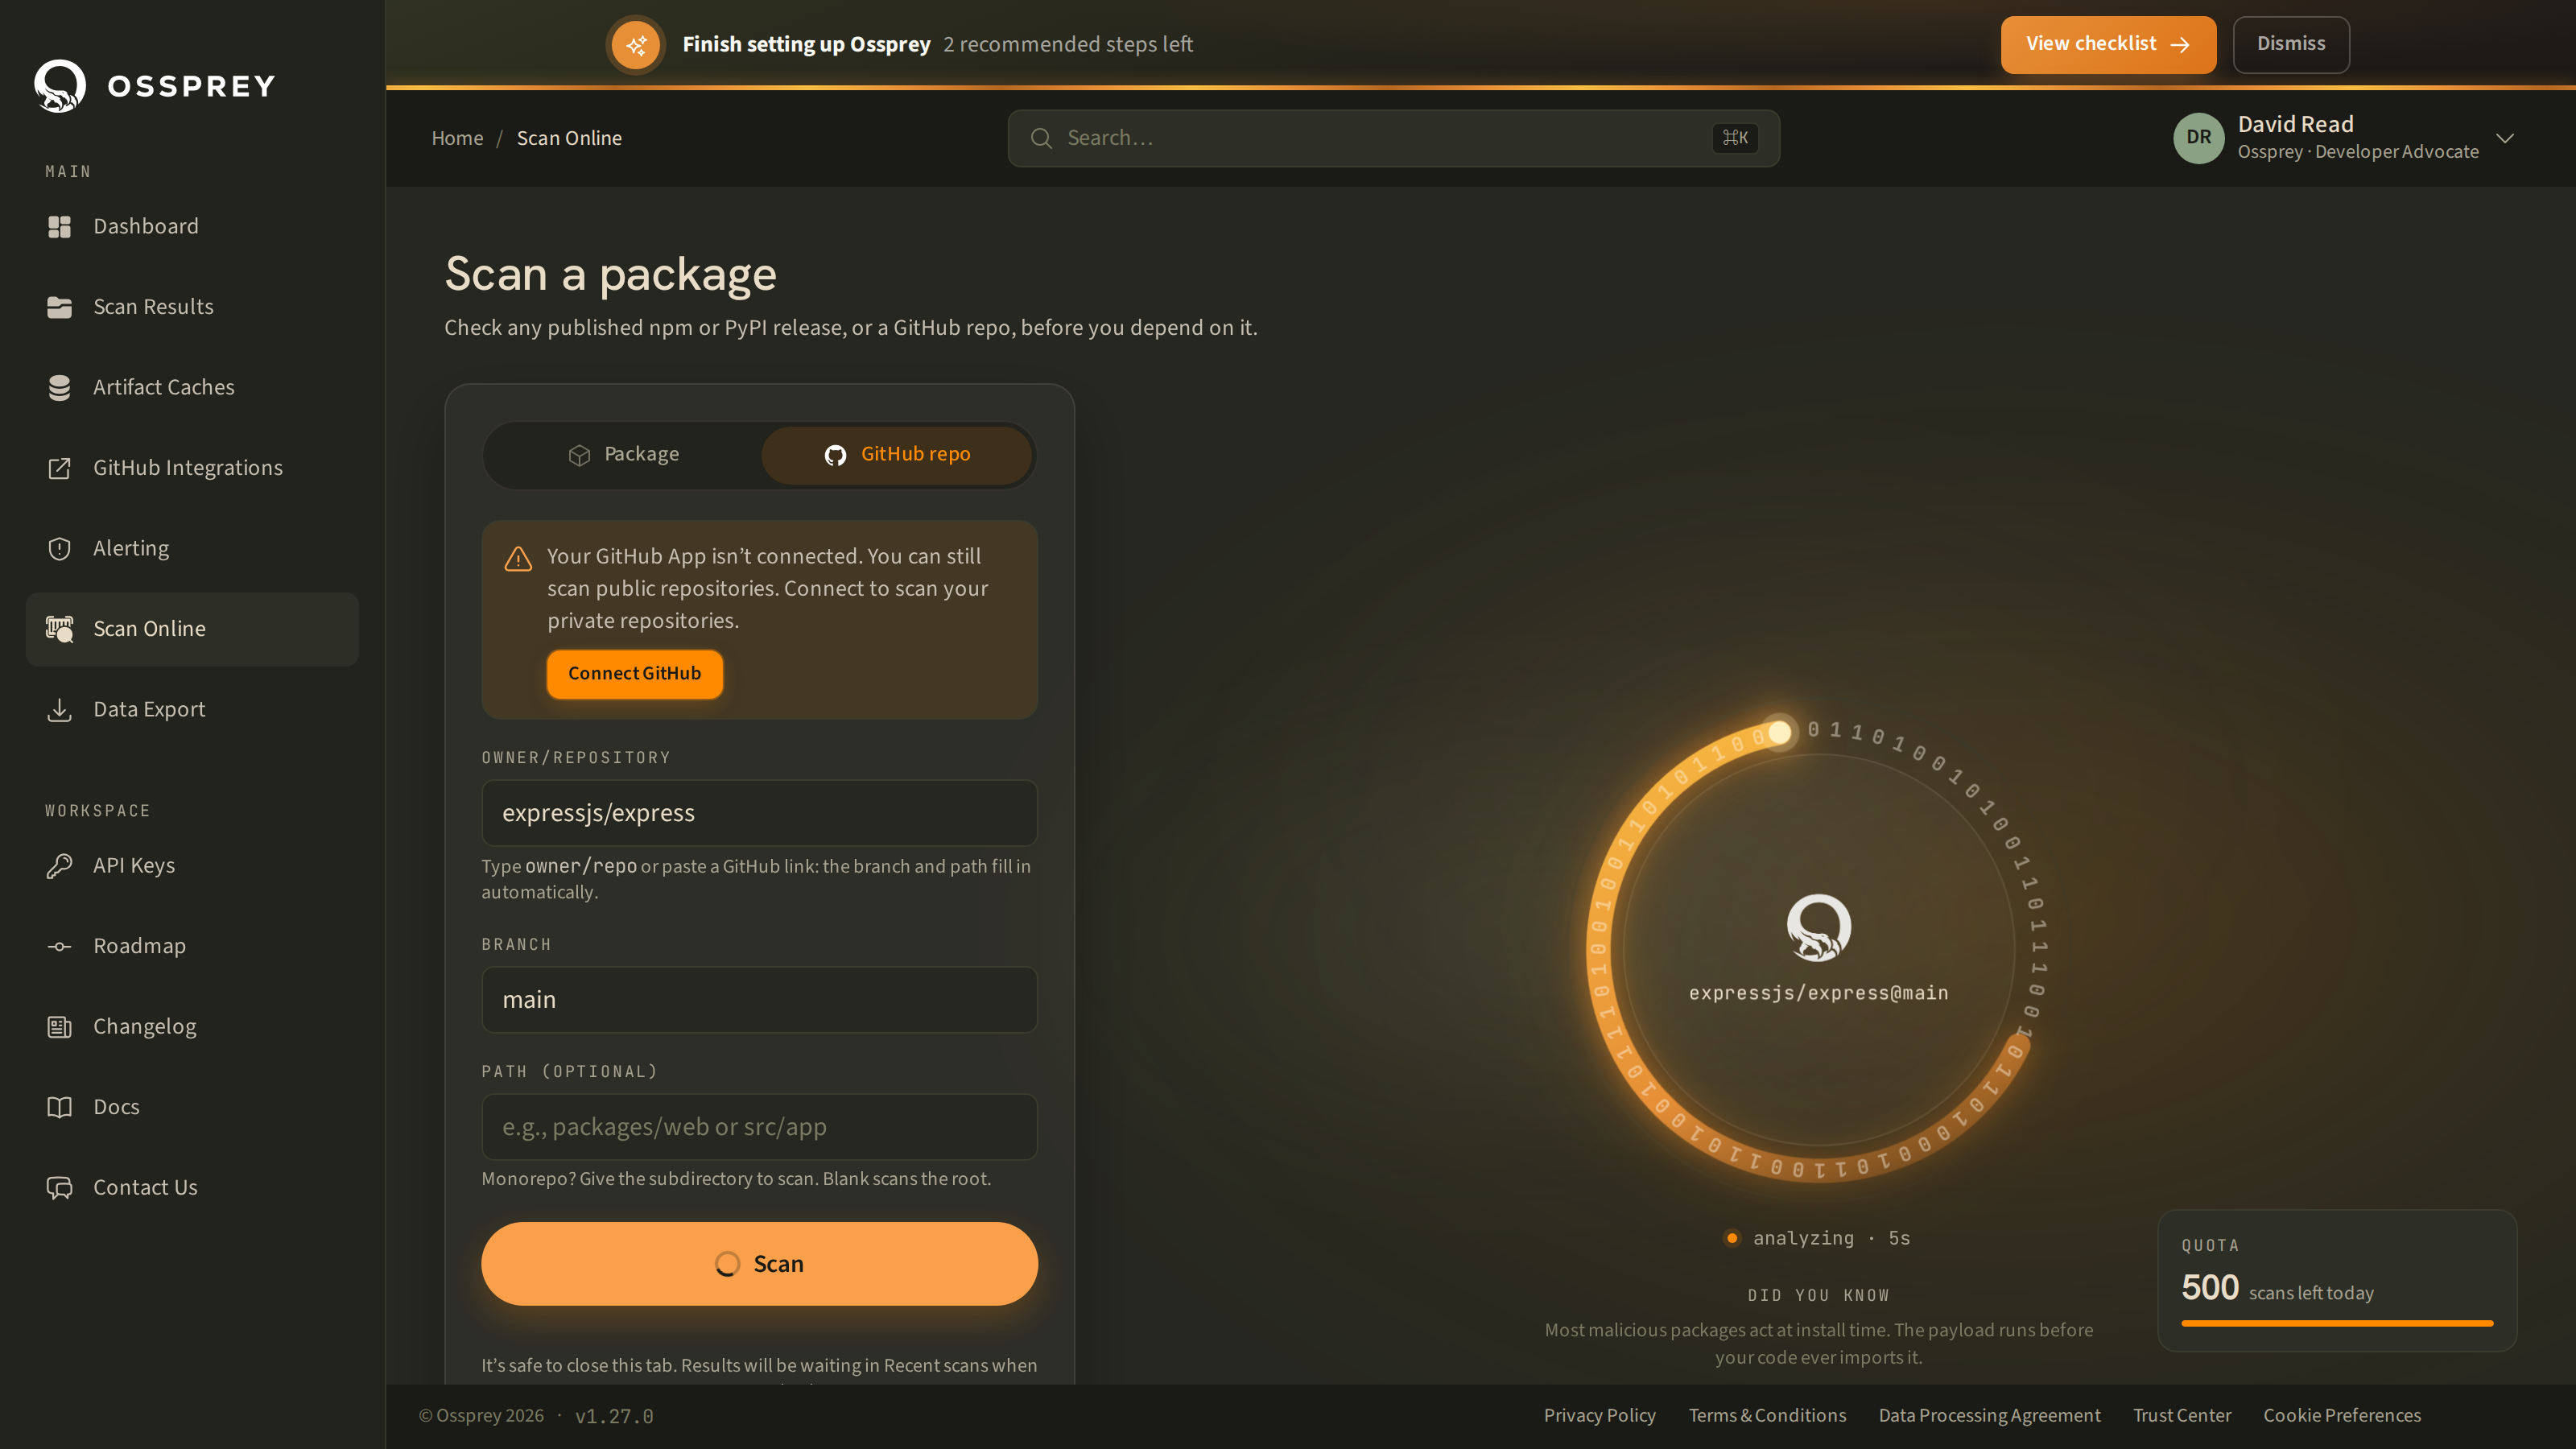
You can also use the search bar at the top of any page: type a package name and scan it from there.
Option 3: Scan with the CLI
Install the Ossprey CLI and scan a local project from your terminal. The CLI is a single self-contained binary — there's no pip, npm, or Homebrew package:
# Install (Linux / macOS)
curl -fsSL https://github.com/ossprey/ossprey-cli/releases/latest/download/install.sh | sudo sh

# Set up in one command: log in via your browser, create an API key, scan
ossprey init

# From then on, scan any project
ossprey scan ./my-project
Want to try it before creating an account? ossprey scan ./my-project --dry-run-safe -v runs the whole catalogue step locally without talking to the API.
See the CLI Tool page for the full installation and usage guide, including the Windows installer and CI/CD setup.
Understanding your dashboard
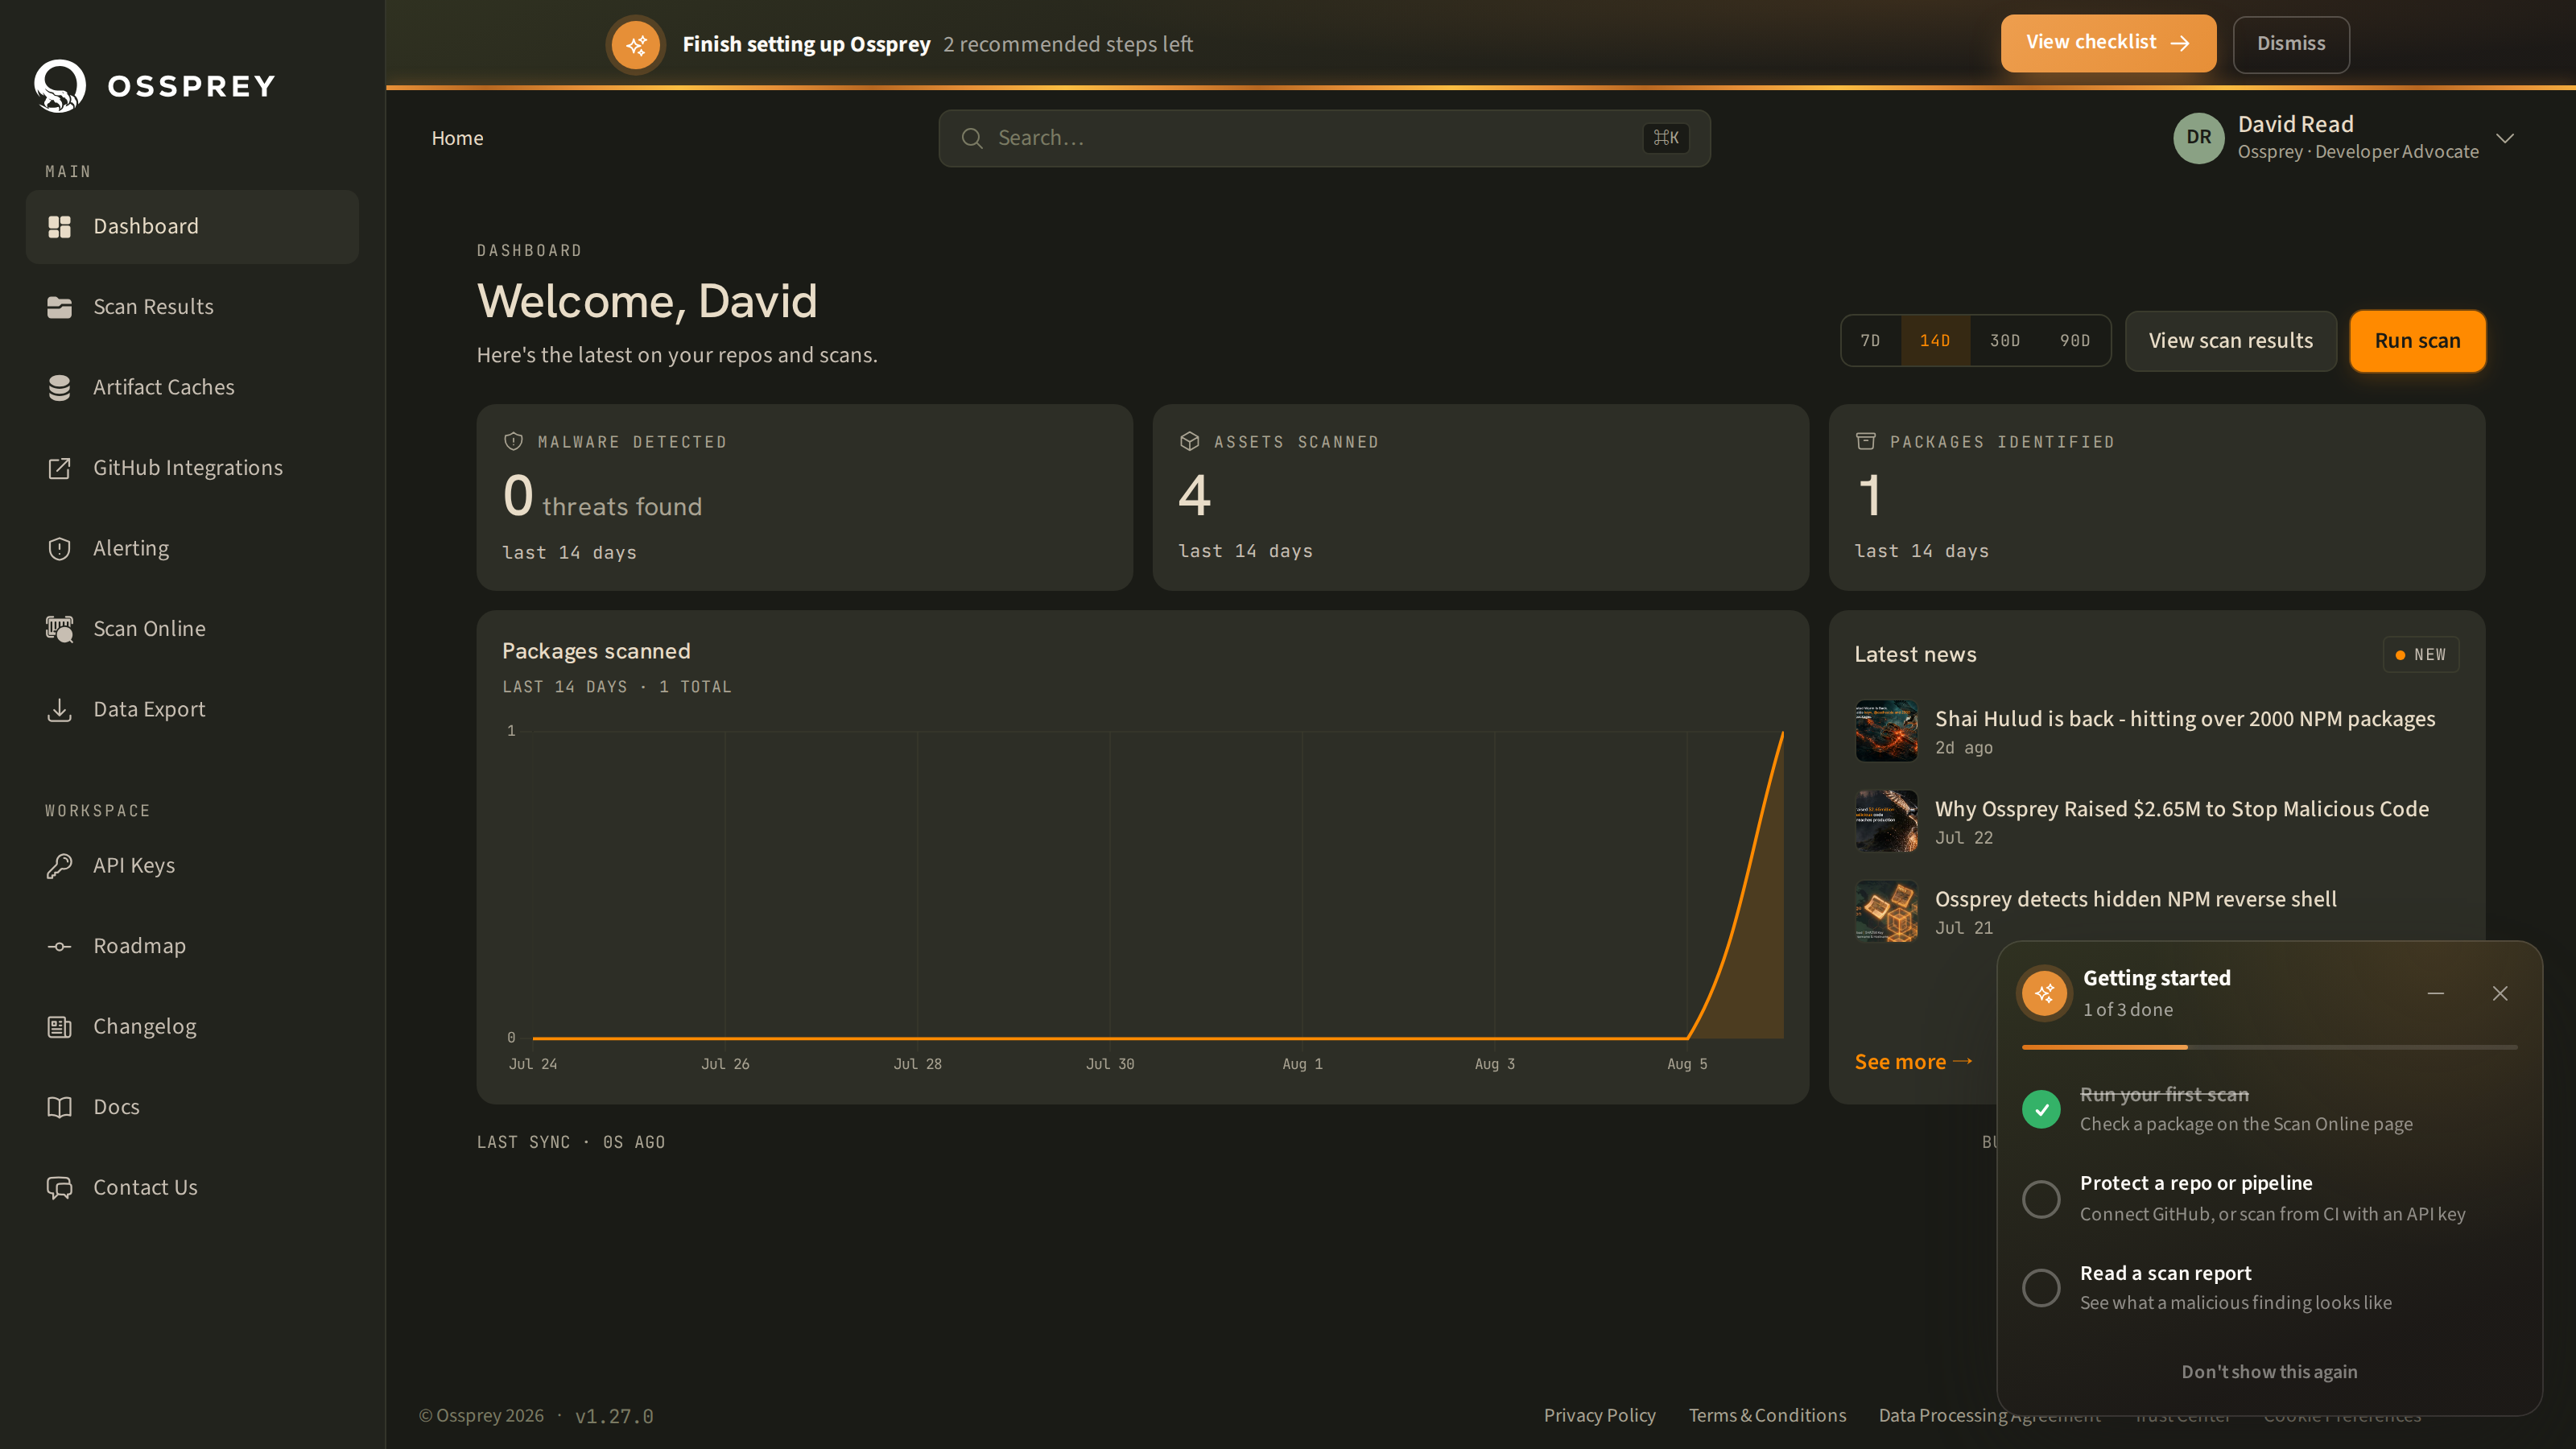
Once you have scans running, you can view the results on the Scan Results page.
Next steps
Once you've completed your first scan, we recommend:
- Connect your GitHub repositories for automated scanning — see GitHub Integration.
- Set up an alert rule so malware findings reach your email, Slack channel, or incident.io workspace instead of waiting to be noticed — see Notifications & Alerts.
- Create an API key for CLI and programmatic access — see Security & API Keys.
- Learn to read a threat card, so a finding tells you how urgent it is — see Scan Results.
Updated about 1 month ago